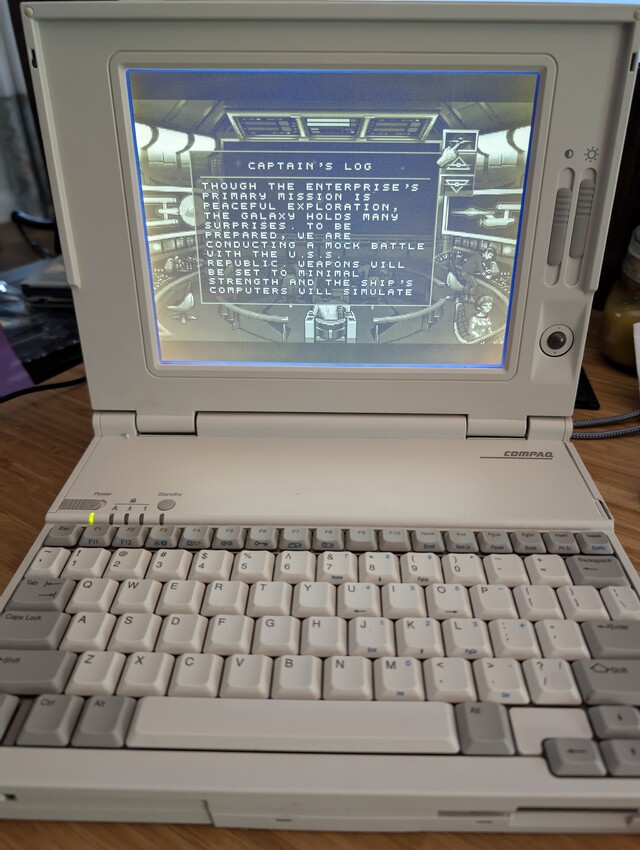
Compaq LTE Lite 4/25
Restored another vintage laptop: a Compaq LTE Lite 4/25! I got it practically for free from Craigslist, since it was in rather rough shape: the screen hinges were completely loose and no longer attached to the body. The laptop has clearly been dropped on one of the corners in the past, but miraculously the display ribbon cable was still intact.

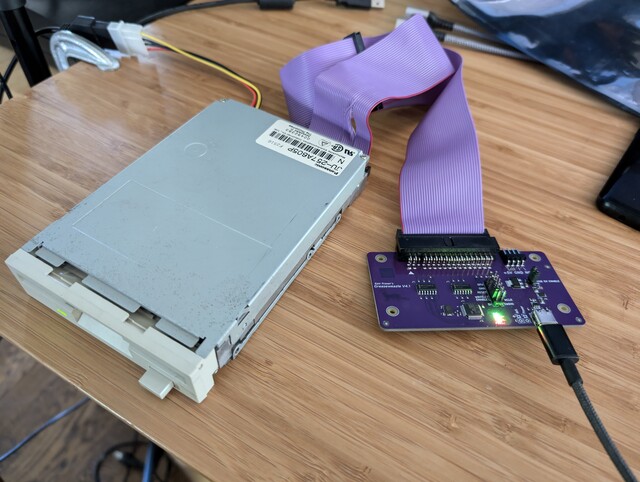
Annoyingly, the LTE series of laptops doesn’t have a built-in BIOS setup utility, and requires a bootable “diagnostics disk” to set up the BIOS parameters. This took a bit of searching on the web, but I finally found the appropriate floppy disk image, and wrote it to a disk using my trusty Greaseweazle attached to an old floppy drive.
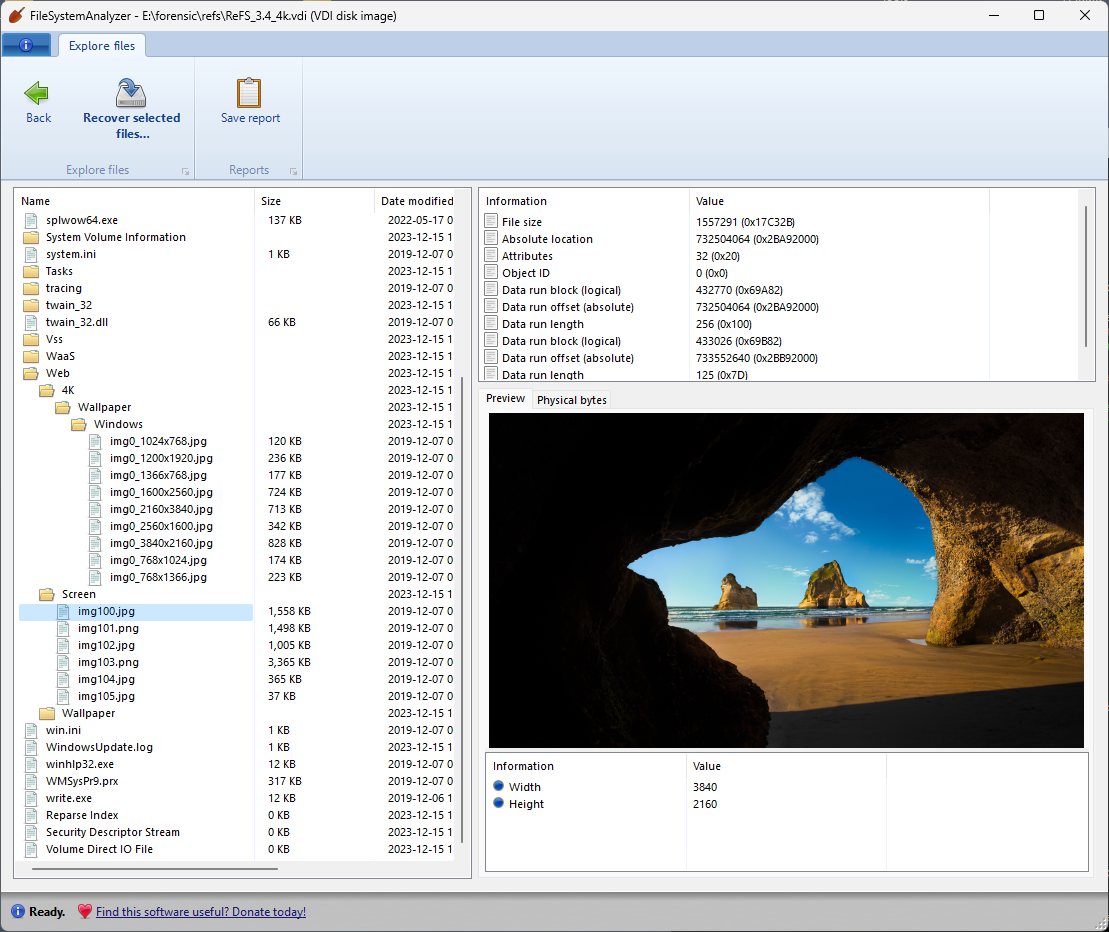
Now that I’m able to set up the BIOS, I can configure it to use a CompactFlash adapter as the hard drive, which is preloaded with all kinds of retro apps and games! But there’s a slight problem: the diagnostics program doesn’t allow us to set up a “custom” hard drive, and instead requires us to select one of the predefined hard drive types defined by Compaq. Bizarrely, the “custom” drive types appear in the list, but are not allowed to be selected! Fortunately there is a standard drive type #61 that is “close enough” to the size of my CF card (512MB), and uses the correct number of heads and sectors.
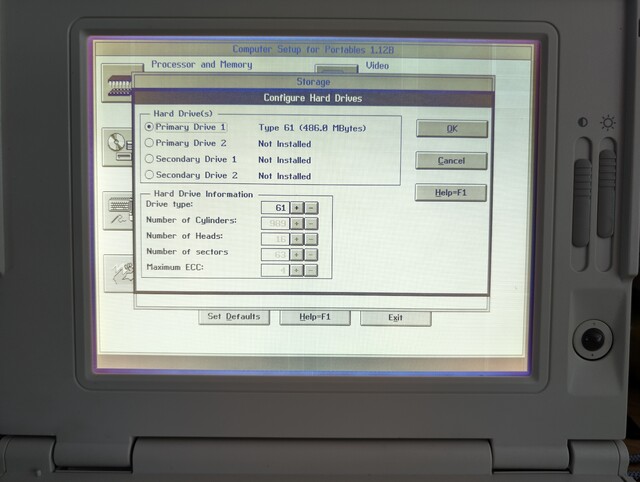
Selecting this drive type allowed the laptop to boot into the CF card and access its contents:
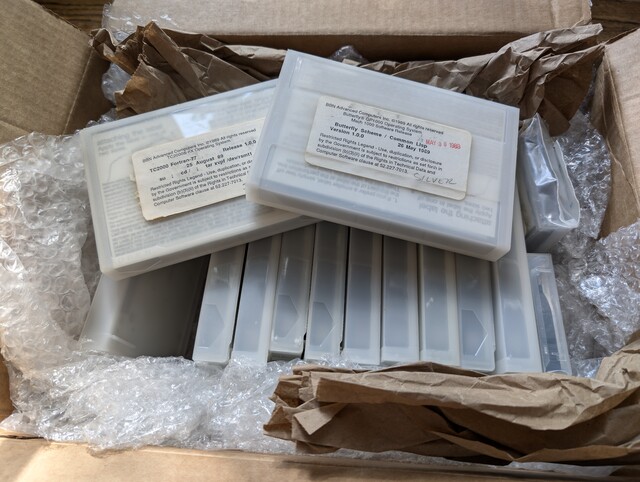
QIC tapes from TC2000 supercomputer
I got a request to recover the data from several QIC cartridges that came from a 1980s-era supercomputer: the TC2000, from a company called BBN.
This computer used a scalable RISC architecture that could be expanded to 128 CPUs. The “base model” of this computer had a sticker price of $350,000, which buys you things like a 25 MHz CPU, 16 KB of L1 cache, and 16 MB of RAM. It still boggles the mind that, today, a $1 SOC can blow these specs out of the water.
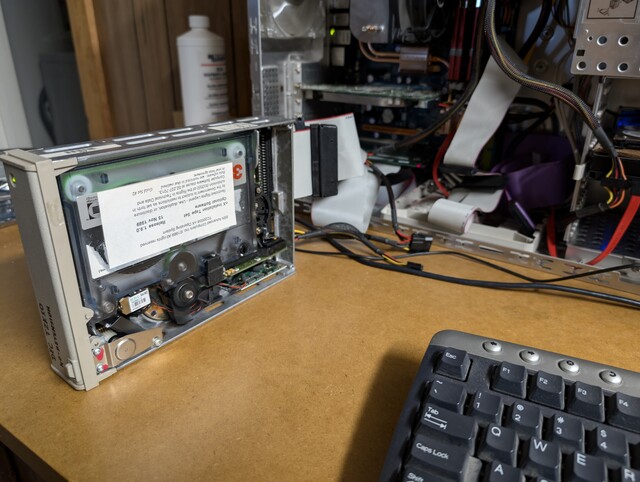
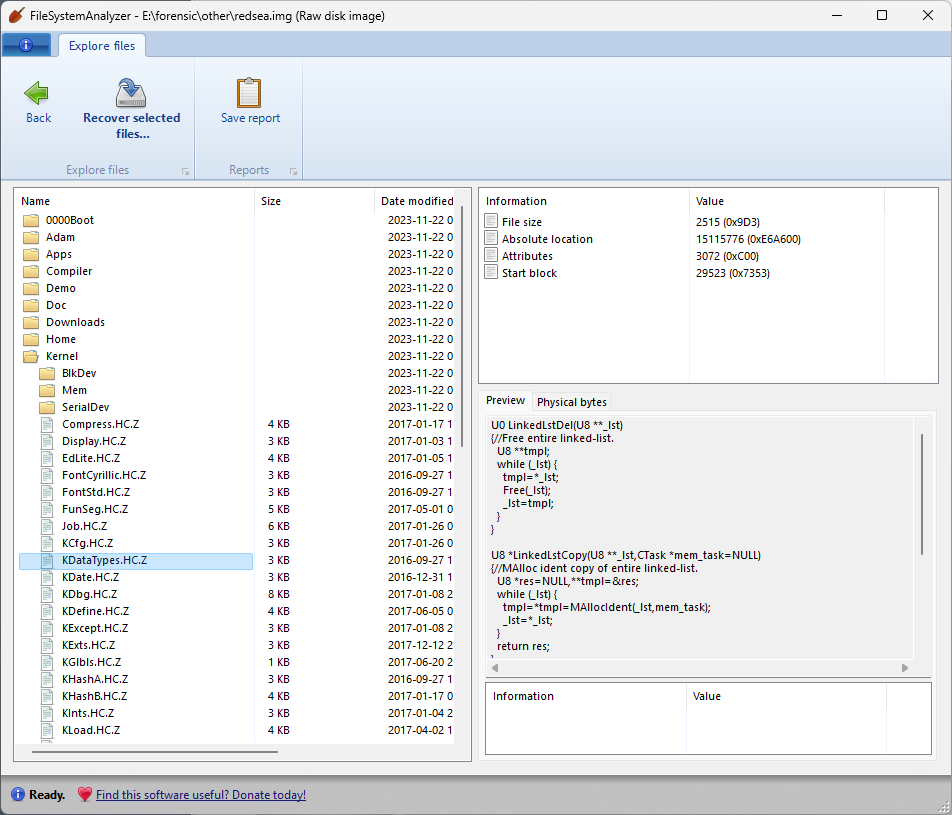
The QIC tapes are DC 600A cartridges (60 MB), which were read without any issues using my trusty Tandberg TDC-3660 drive. The tapes include the installation of the operating system for this computer (called “nX”, based on Unix 4.3 BSD), as well as some other programs and tools like Fortran and Lisp. Even though the tapes were exceptionally well preserved, they still needed the usual reconditioning steps of replacing the tension belt, and cleaning the debris left behind by the previous belt.
Unfortunately it looks like these tapes contain mostly binary files, intended to run on the architecture of the TC2000, so it’s highly unlikely they’d be runnable on any other system or emulator that I’m aware of. Still, an interesting bit of archaeology worth preserving.