I spent wayyy too much time playing with a few of these intriguing things:
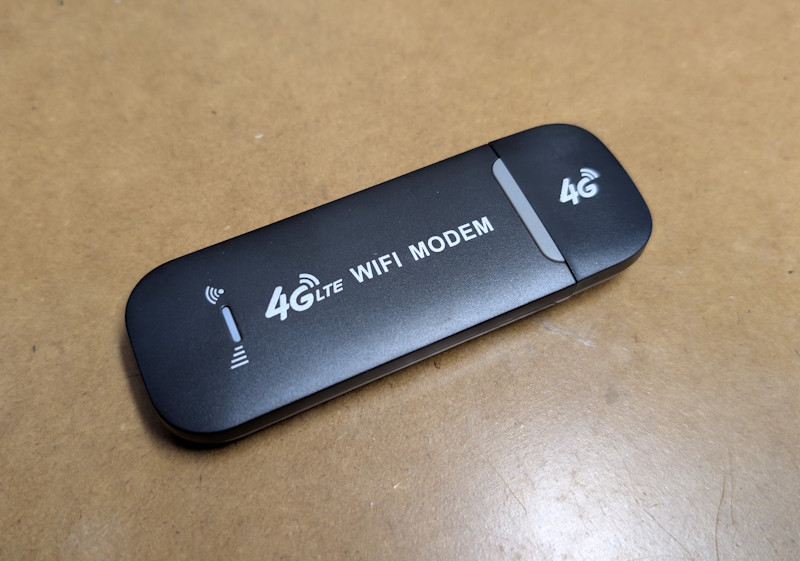
This is an LTE/WiFi dongle, which lets you insert your SIM card that has a data plan, for when you want to connect to the internet from your laptop on the go. But under the surface, there are several things about this dongle that are very interesting indeed:
First, this stick is basically a fully-fledged Android device on the inside. That’s right — it contains all the internals of a low-end Android phone, cleverly packaged into a USB stick form-factor.

Another interesting thing is the price: at the time of writing, I was able to obtain several of these devices for about $8 each from AliExpress, which is an incredible value for the functionality you can unlock, because:
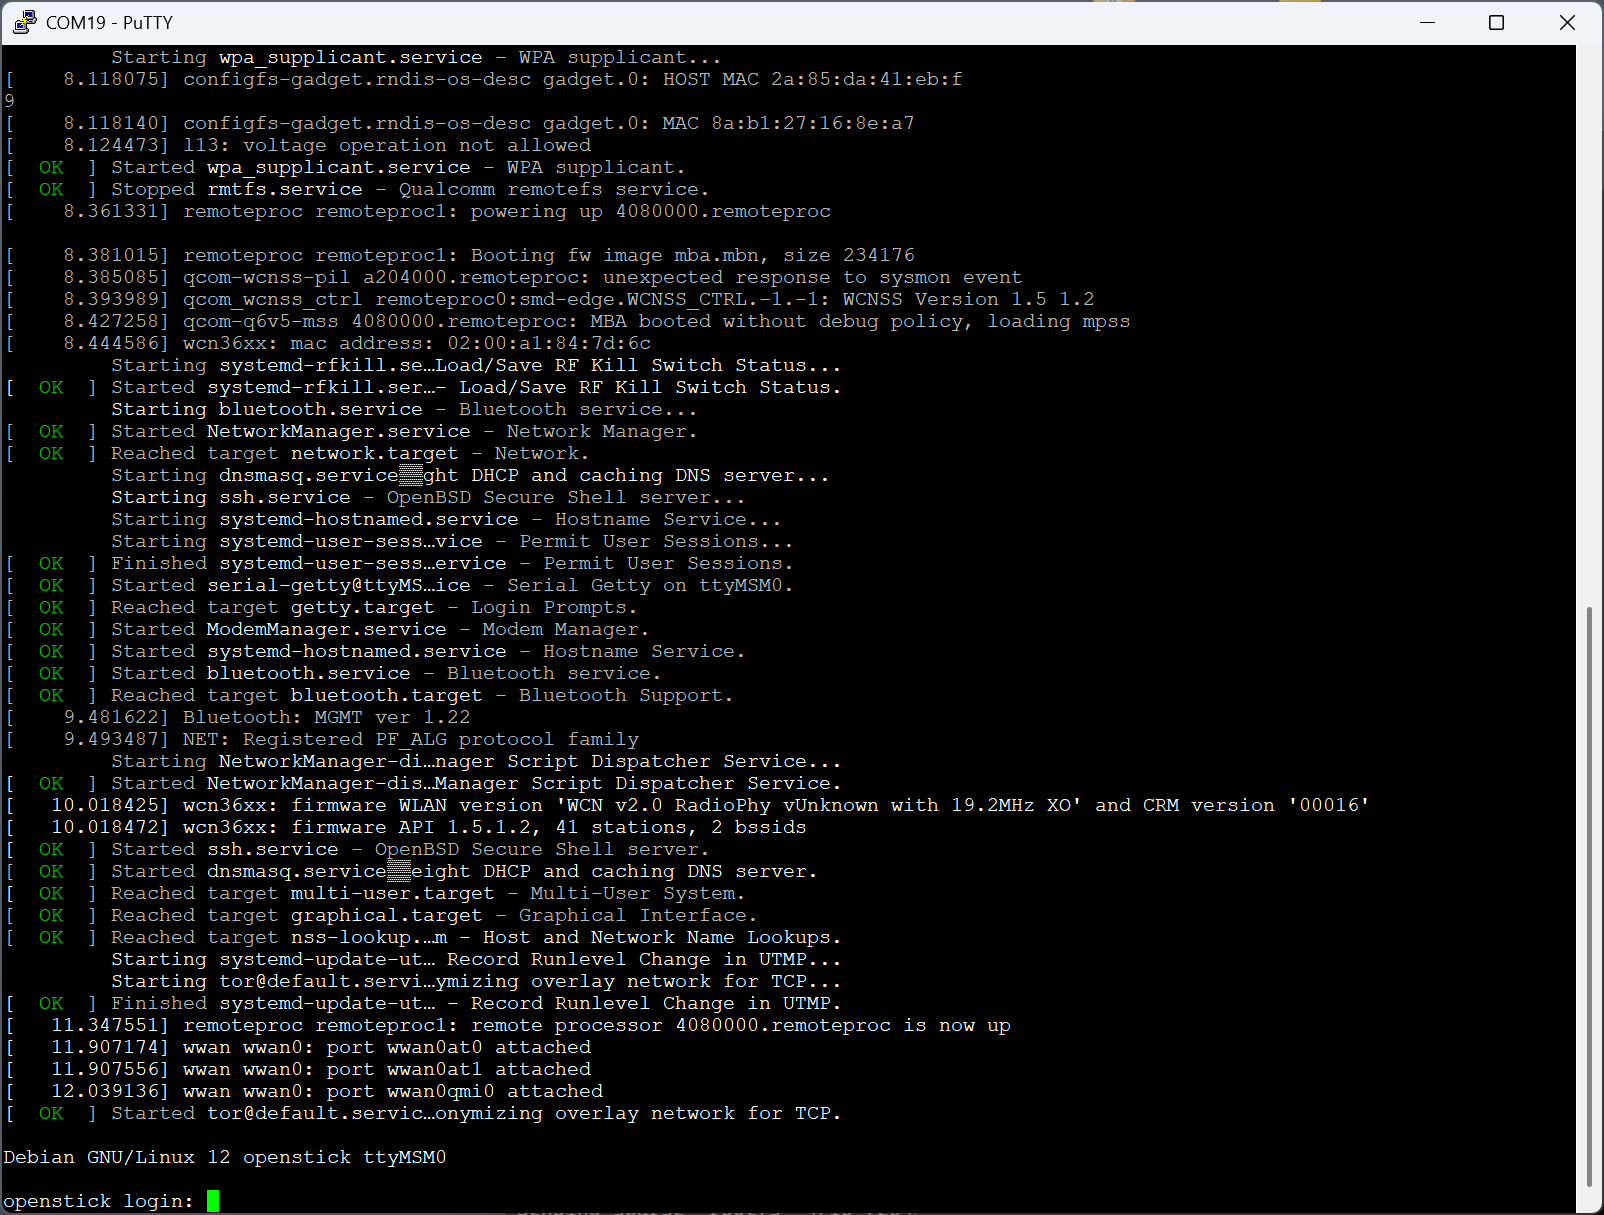
The final interesting thing about these devices is that they’re very hackable. In fact, there’s an entire community (because of course there is!) that has figured out how to load a completely standard Debian distro onto this stick, with all the bells and whistles that provides, including USB gadget capabilities, allowing you to turn this stick into any type of USB device of your choosing, such as a mass storage device, or an HID keyboard (à la Rubber Ducky, except for 1/10th the price), or an RNDIS network interface (which can capture and record packets), or any number of other types of gadgets, all while still allowing you to “log in” to it via its WiFi hotspot or LTE modem.
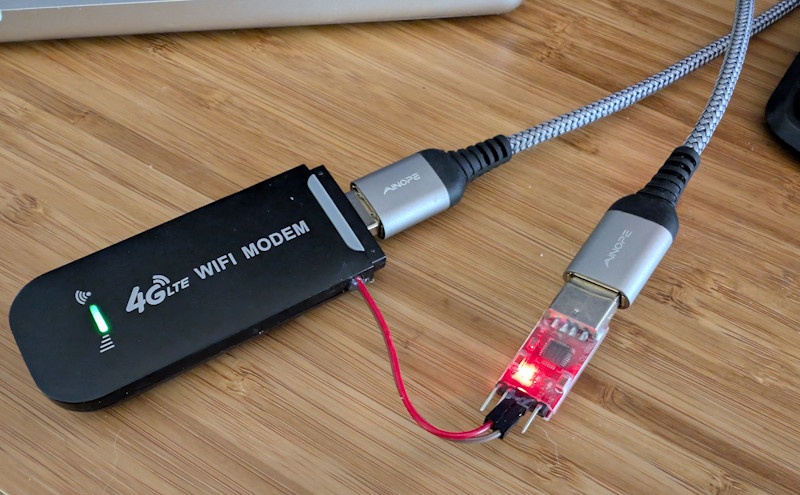
I went a little overboard and soldered some wires onto the UART pins, then routed the wires around the metal shielding so that they’d stick out of the plastic case.

I then put some hot glue over the wires and smooshed the plastic case over it, so that the wires are nicely secured. And now I have a nicely debuggable platform for doing further tinkering with this amazing little stick!
Notes
- The custom firmware uses a prebuilt kernel from postmarketOS. The latest can be found here; look for a file called
linux-postmarketos-qcom-msm8916-[latest version].apk. - The sticks that you can find on AliExpress can come in various board revisions. The most “compatible” and “supported” board seems to be
UZ801, so try to find that one specifically. I own a couple ofUZ801_v3.2, and also one ofUFI103S_V07and a couple ofHMUF02-V05. - Here is the original release of the Debian (Bullseye) image that can run on these sticks.
- Here is a slightly newer Debian (Bookworm) image, plus a very detailed tutorial. This is the one that seems to perform with the greatest stability on
UZ801sticks specifically. Newer Debian builds seem to have some stability issues on these sticks. - Someone else made a convenient all-in-one script that builds and packages the very latest Debian for these sticks. Quick note: when building from this repo, keep in mind that the build takes a long time. In particular, it might look like it gets “stuck” on the step of “Unpacking the base system…”, but don’t worry — it’s still building. Anyway, there are forks of that repo that go even further:
- This fork adds AdGuard functionality and DNS encryption with DOH, and also turns the USB gadget into a composite device with RNDIS plus mass-storage plus a Serial device with a root shell.
- This fork significantly speeds up the build time, and switches to using
hostapdfor setting up the WiFi access point. - My own fork is based on the above.
- I’ve used the above fork(s) to build the latest image (in a VirtualBox VM of Xubuntu 25.04) and get it running on my sticks.
- These latest builds seem to be a bit unstable on my
UZ801devices, with occasional crashing and the LEDs no longer working properly. Again, only the original Bookworm image seems to work stably on these sticks. - However, interestingly, the latest image is absolutely stable on my
HMUF02sticks, although also with nonworking LEDs, but I’m fine with that. - For attempting to do GPIO, an easy method is to install the
gpiodpackage, which lets you easily work directly with GPIO from userspace, with commands likegpiodetect,gpioinfo,gpioset, andgpiomon.
- These latest builds seem to be a bit unstable on my
Considerations
- Before loading your own firmware onto these sticks, make sure to dump its original firmware (as advised by all the other blog posts)! Some of the firmware partitions, such as
modemst1andmodemst2are device unique (not just board-revision unique!), and are necessary for proper access and function of the LTE modem. - If you need to make tweaks to the device tree (.dtb) that is loaded at boot time, you can use the
dtctool:- DTB to DTS:
dtc -I dtb -O dts -f devicetree.dtb -o devicetree.dts - DTS to DTB:
dtc -I dts -O dtb -f devicetree.dts -o devicetree.dtb
- DTB to DTS: