My old Kindles
With Amazon having ended support for many older-generation Kindle devices, I thought I’d go back and make sure that my existing Kindles will still be usable for the foreseeable future. Up until now, I’ve been using a 2nd generation Kindle (yes, literally the Kindle 2, released in 2009), and my wife has been using a 3rd generation Kindle, released in 2010.

We use and enjoy these devices almost every day, because they still work perfectly well for the purpose of reading books. I mostly read free eBooks from Gutenberg, as well as technical PDF files, since my Kindle 2 doesn’t support WiFi, which is fine with me. If I need to load a new book or document onto my Kindle, I don’t mind connecting it to my PC and transferring the book over.
The Kindle 3 that my wife had been using supports WiFi (the first Kindle model to do so), and she had enjoyed borrowing books from our library through her Amazon account. When she heard the news that Amazon was dropping support for her Kindle, despite my pleas, she insisted on finally upgrading to a more modern Kindle, and ended up getting the Kindle 11, released in 2024.
Even though the Kindle 11 is better in some ways than the Kindle 3, both my wife and I agree that it’s not 8 generations-worth better. Yes, it’s more responsive overall, and the e-ink refreshes slightly faster, and the backlight can be useful in low light conditions. But certain other things feel like either regressions or just unnecessary product churn. Why, I ask you, did they get rid of physical buttons to go to the next or previous page? These were extremely convenient and intuitive affordances that allowed single-handed navigation through the book, and saved the display from getting smudged due to constant tapping and swiping.
Would it kill them to keep physical buttons for turning pages? Is it some kind of competition of minimalism? Are they showing off their ability to incorporate touch gestures into their e-ink display technology? We get it, you can make a capacitive e-ink touchscreen. But physical buttons are good, too!
I suppose, on the one hand, Amazon can be commended for continuing support for these devices for the last 15 years, which is longer than many other hardware vendors I can name. But on the other hand, is it really that difficult to continue supporting them further? This really feels like planned forced obsolescence. It feels like Amazon unwittingly made these older devices too good, and now wants to force users to upgrade.
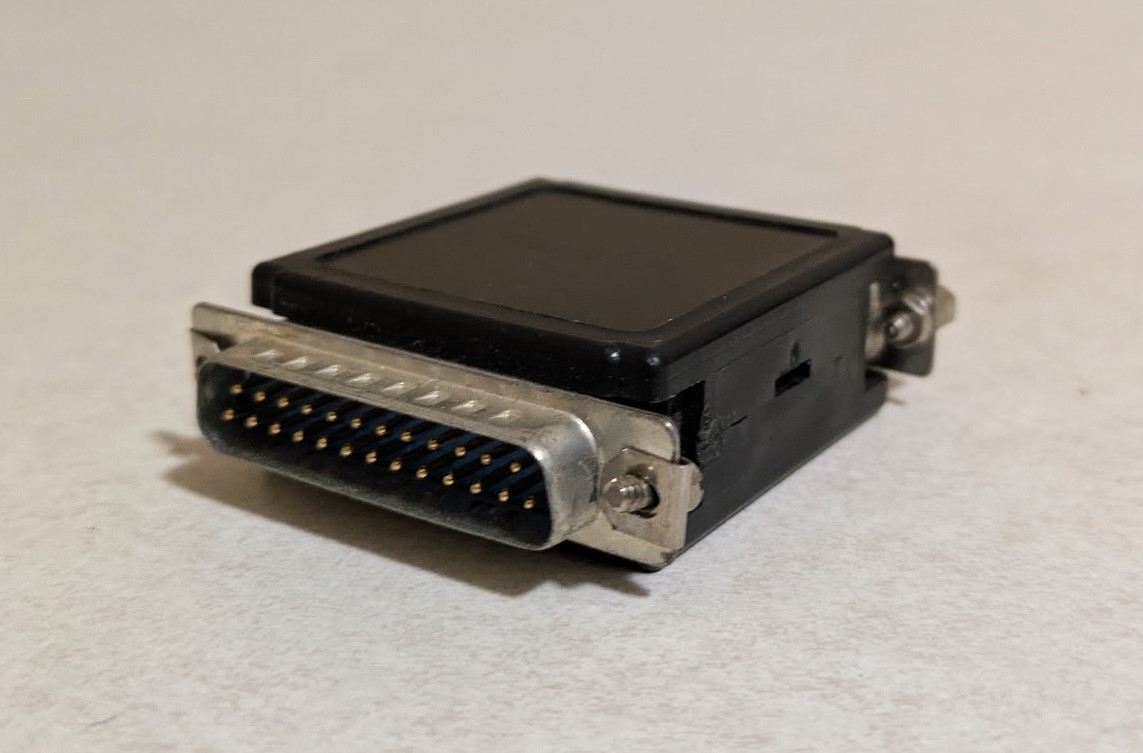
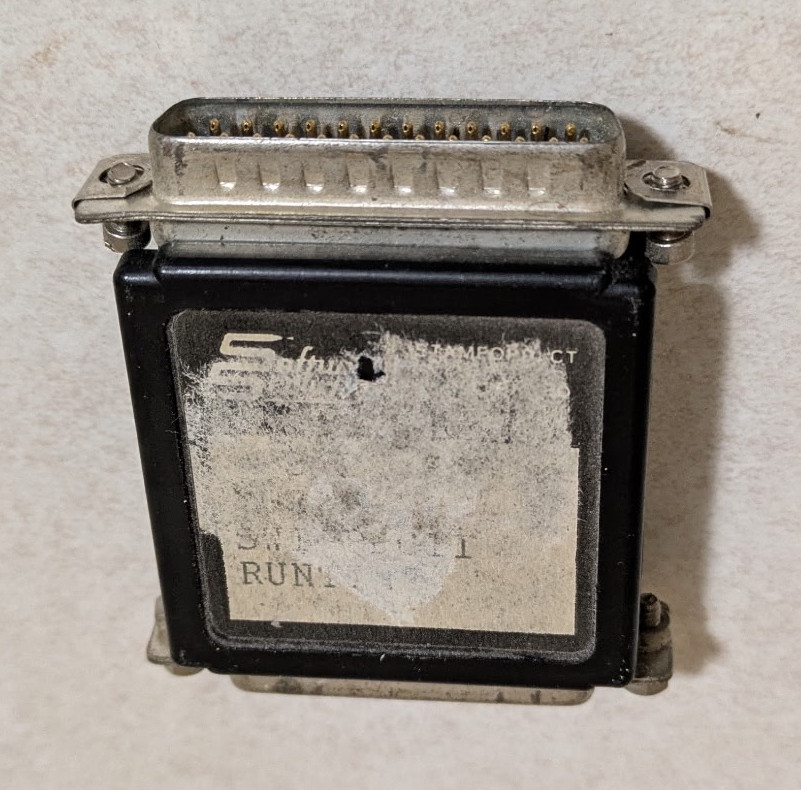
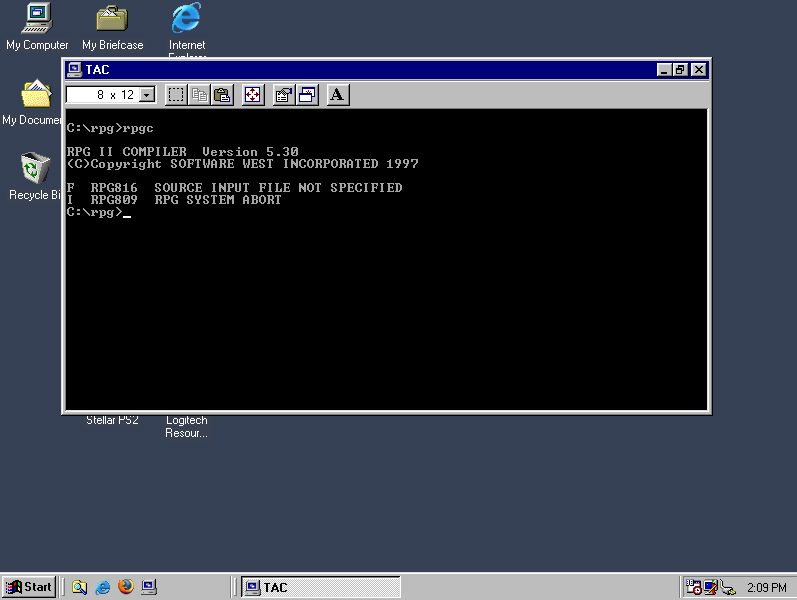
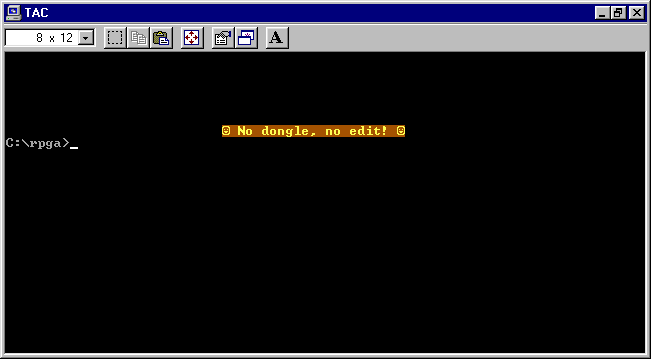
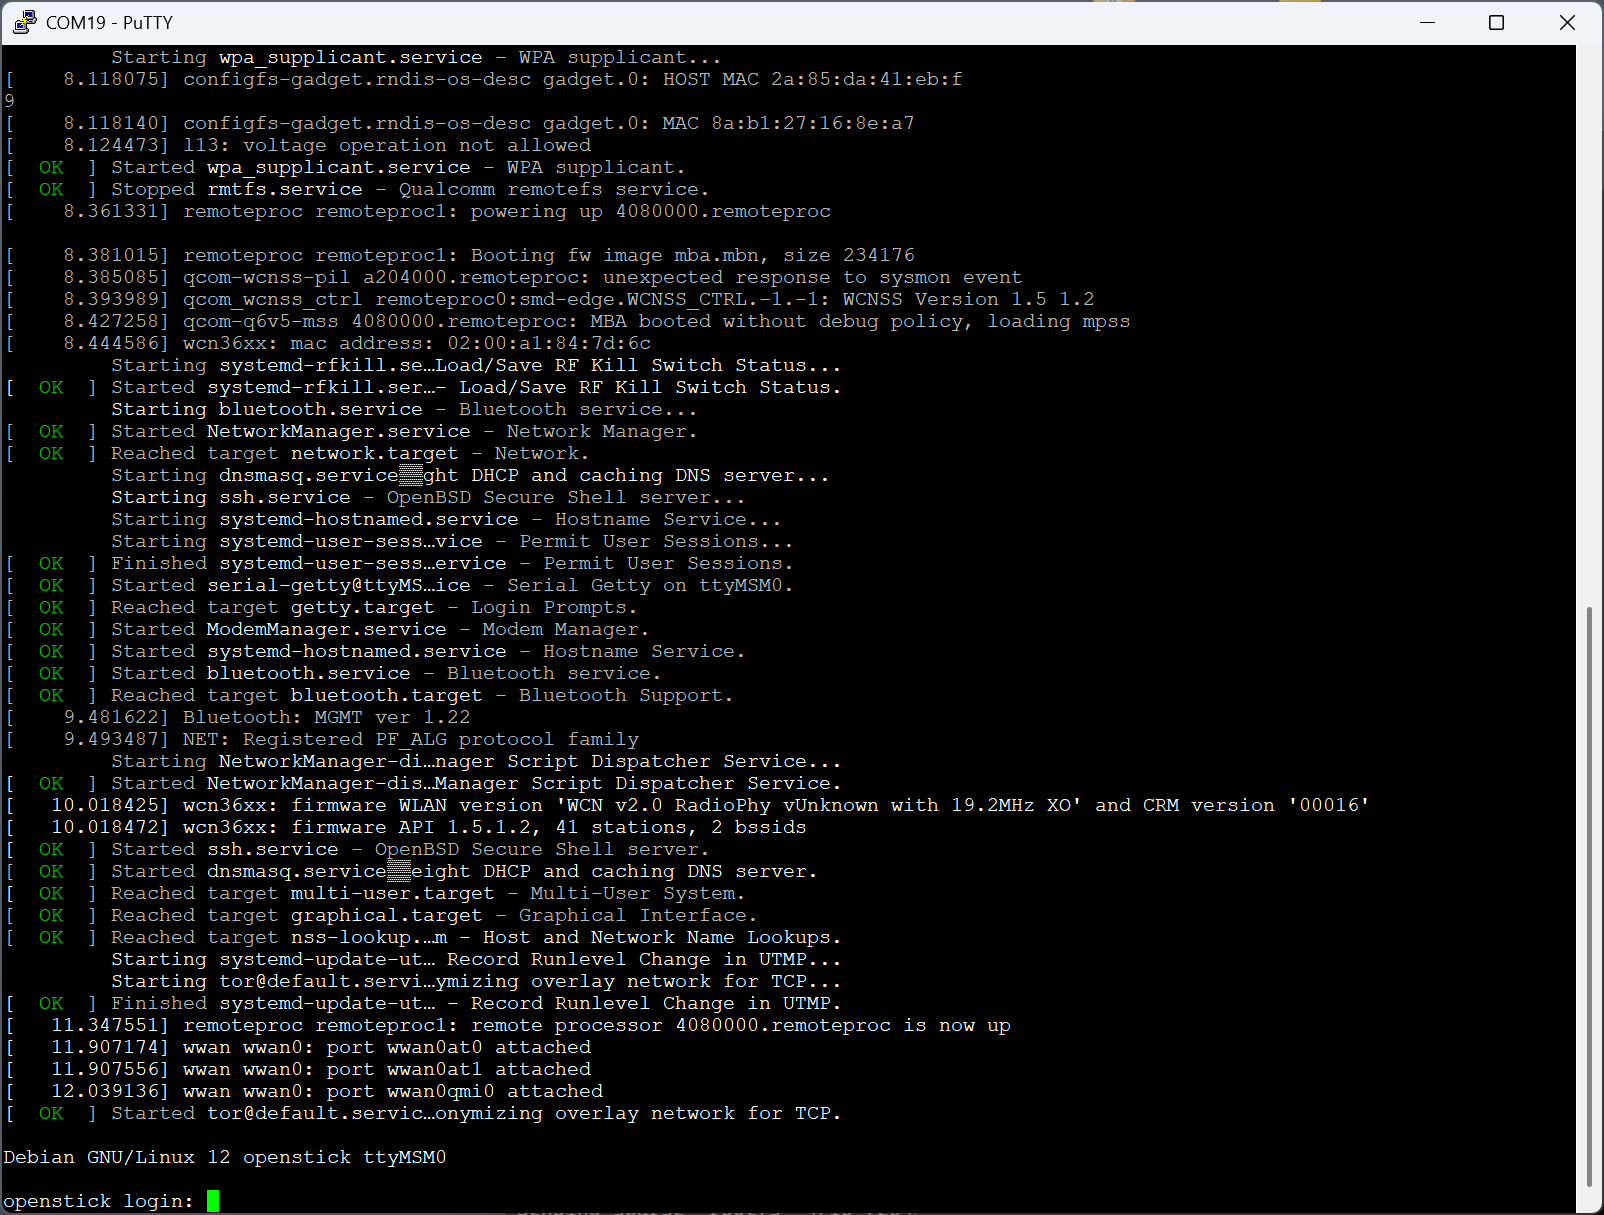
In any case, now that my wife has switched to the Kindle 11, I will be switching to her old Kindle 3, but not just a Kindle 3 — a jailbroken Kindle 3! Jailbreaking allows you to do numerous interesting things with the Kindle, including customizing the screensaver illustrations, and even having a functioning console:
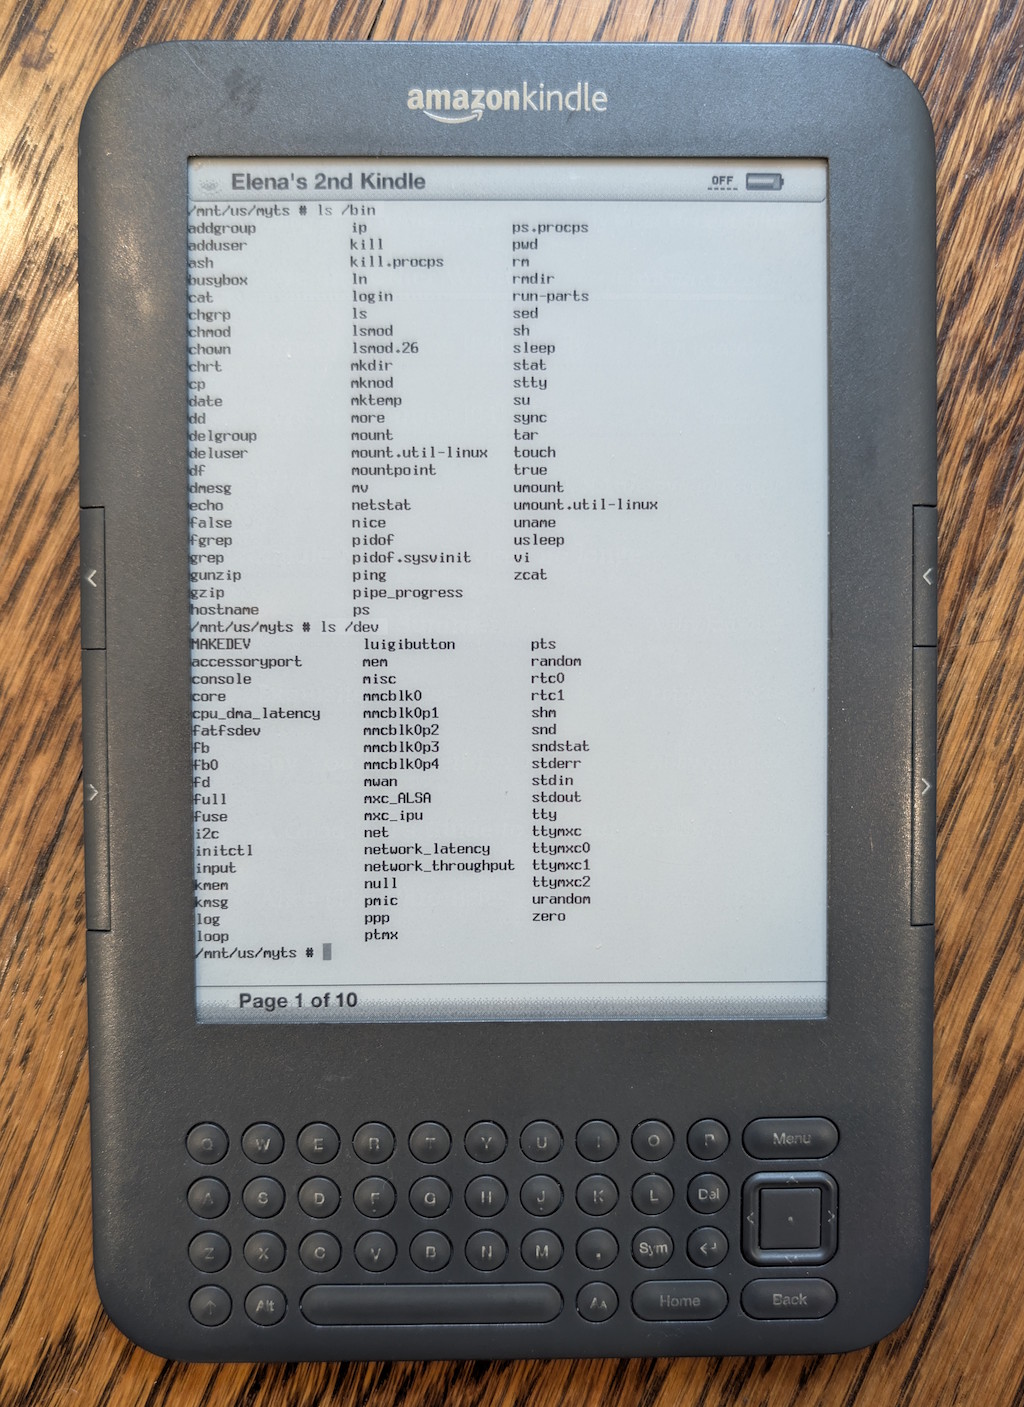
Typing actual commands into this e-ink console using the Kindle keyboard is as excruciating as you might expect, but just seeing it work is reward enough.
But seriously, the real benefit of jailbreaking is to install a custom non-Amazon reader app that supports the EPUB format natively (among others), whereas previously I would need to convert from the EPUB to the MOBI format. And with these updates, I will be keeping my Kindle 3 until either its hardware fails entirely, or I drop it into a lake. Otherwise, I see no reason at all to upgrade to a newer model.
Retro handhelds
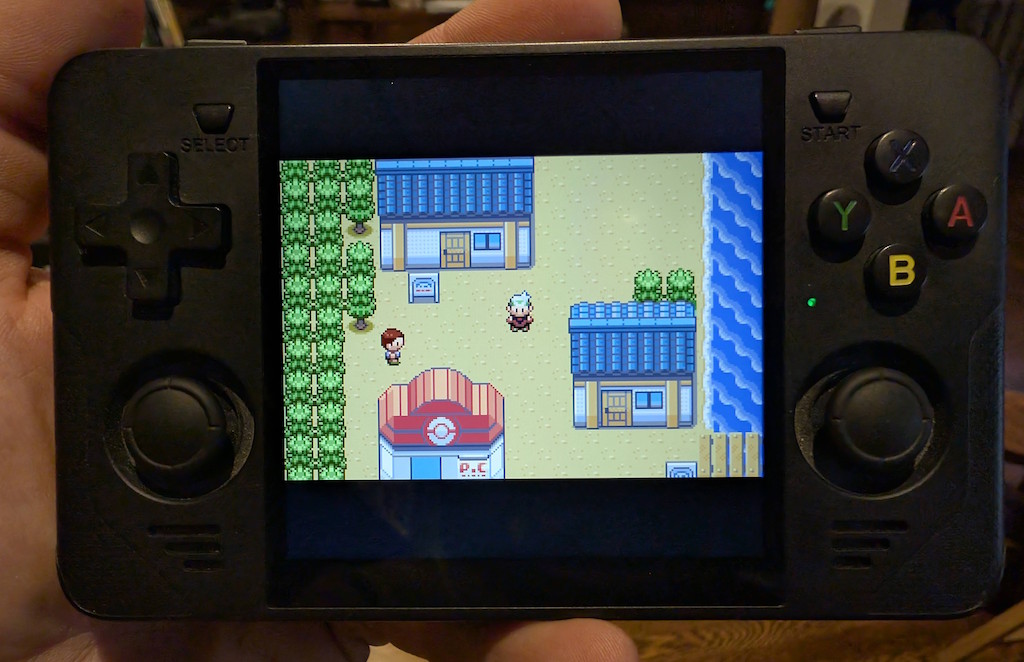
I’ve been kind of obsessed with super-cheap handheld retro gaming consoles lately! During a shopping spree on AliExpress for some unrelated electronics, I randomly came across these devices and picked up a couple, namely the RGB30 ($60 with a discount), and the R36S (regularly $60, but I got a “clone” version for $30 which seems to work just fine). These devices run Linux, and boot from a microSD card that also holds the game ROM files that you want to play. And since it’s Linux, there is naturally a thriving community that builds custom OS images with all kinds of customizable features and tweaks. I loaded dArkOS on both of these devices, and it runs perfectly.
I’m not a “gamer” by any stretch at all, nor do I really want to be. I did, however, used to play plenty of games in the old days on MS-DOS, Commodore 64, various arcades, all the way up to Nintendo 64, but not much beyond that.
And that’s where these devices really rise to the occasion: they run an emulation platform (RetroArch, running on top of Linux) that can emulate all of these old game systems, and many others, with impressive accuracy. Just put your ROM files onto the microSD card, and off you go.
These devices are definitely “cheap” in most senses. The ergonomics are so-so, the buttons and joysticks are a bit flimsy, battery life is not great, and so on. However, one area where these devices shine is the display: the screens on these devices are quite nice, with good brightness and crisp pixels, particularly if you emulate the games with integer scaling.
The RGB30 (my favorite of the two, although more expensive) has a display resolution of 720×720 — yes, a square aspect ratio — which is super interesting, because this offers the versatility of playing e.g. GameBoy Advance games with integer scaling (the GBA had a resolution of 240×160, which scales nicely to 720), but also playing arcade games, which are often played in portrait (vertical) orientation, which also looks great on this display.
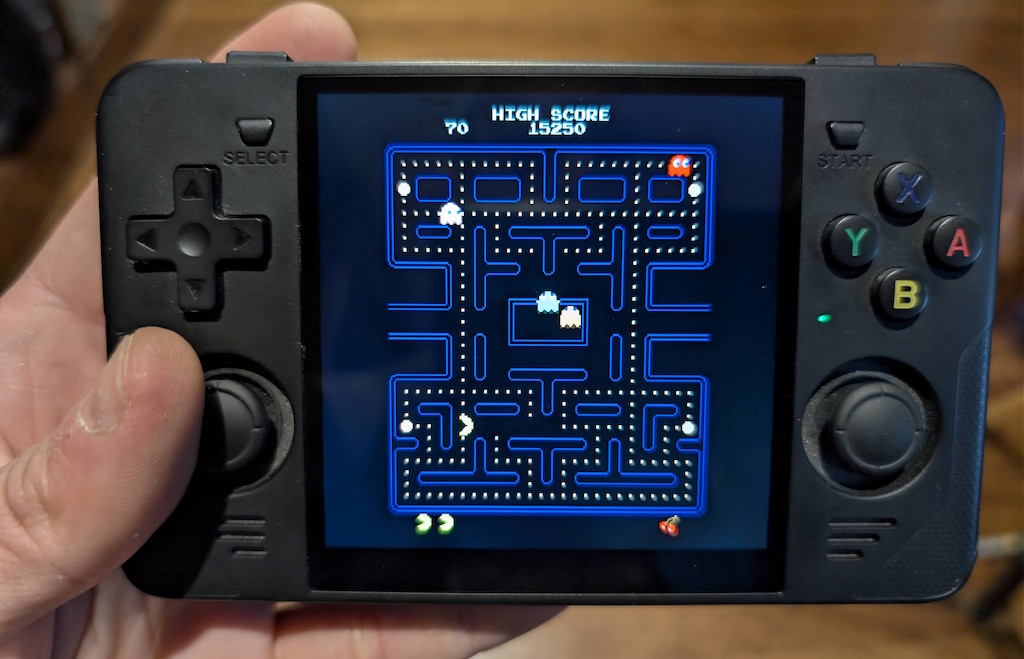
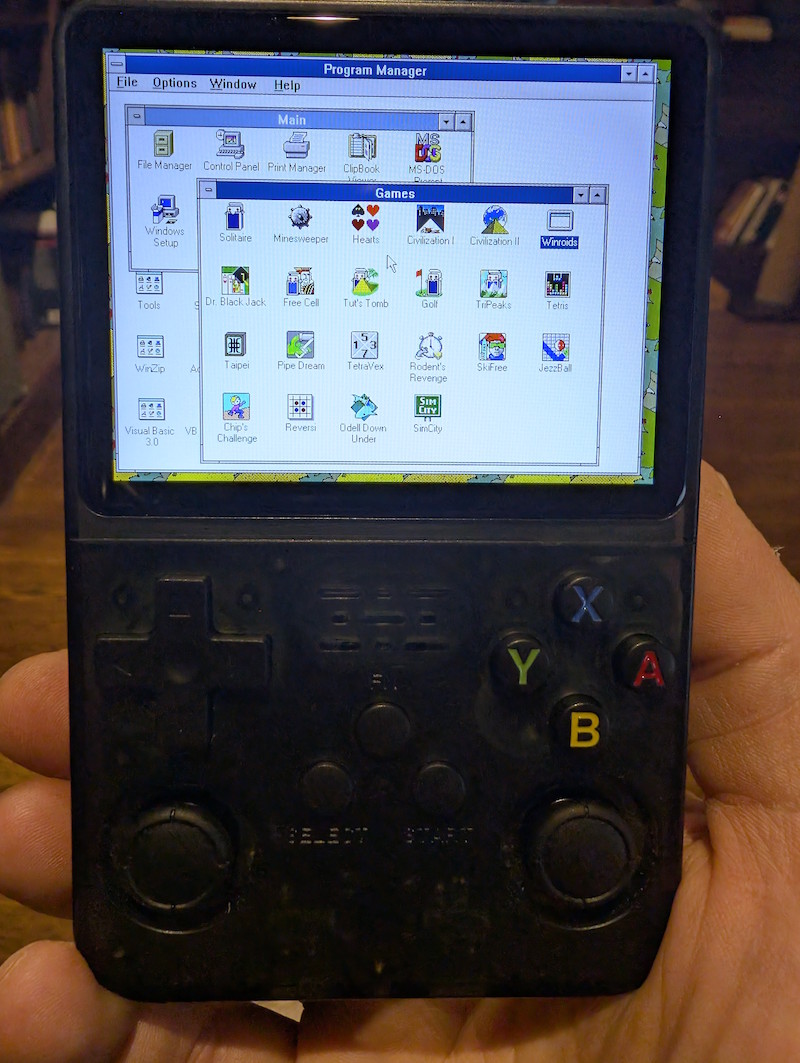
And the R36S has a display resolution of 640×480, which is also very interesting, because this is great for integer scaling of DOS games, most of which used 320×200 VGA resolution, and look fantastic on this device:

Spend just a few minutes customizing the key bindings of the device’s buttons to correspond to the specific game’s controls, and you’re good to go. Even mouse-driven point-and-click games for DOS (King’s Quest, Kyrandia, etc.) work great, with the mouse emulated using one of the analog joysticks. If you’re feeling particularly masochistic, you could even run Windows 3.1, or even Windows 95, and go nuts.
And that’s why I like these handheld devices so much — they scratch the itch of getting something working just right, and they deliver an instant hit of nostalgia; I play a game for about 10 minutes, get bored, and then move on with my day. It’s perfect.