Up until this point, DiskDigger has been built for the .NET Framework, with a user interface that uses Windows Forms. I’ve written before about my feelings on WinForms — that it’s a perfectly good, tried-and-true technology which, as ancient as it is, seems to have outlasted numerous other UI toolkits, for the simple reason that it just works.
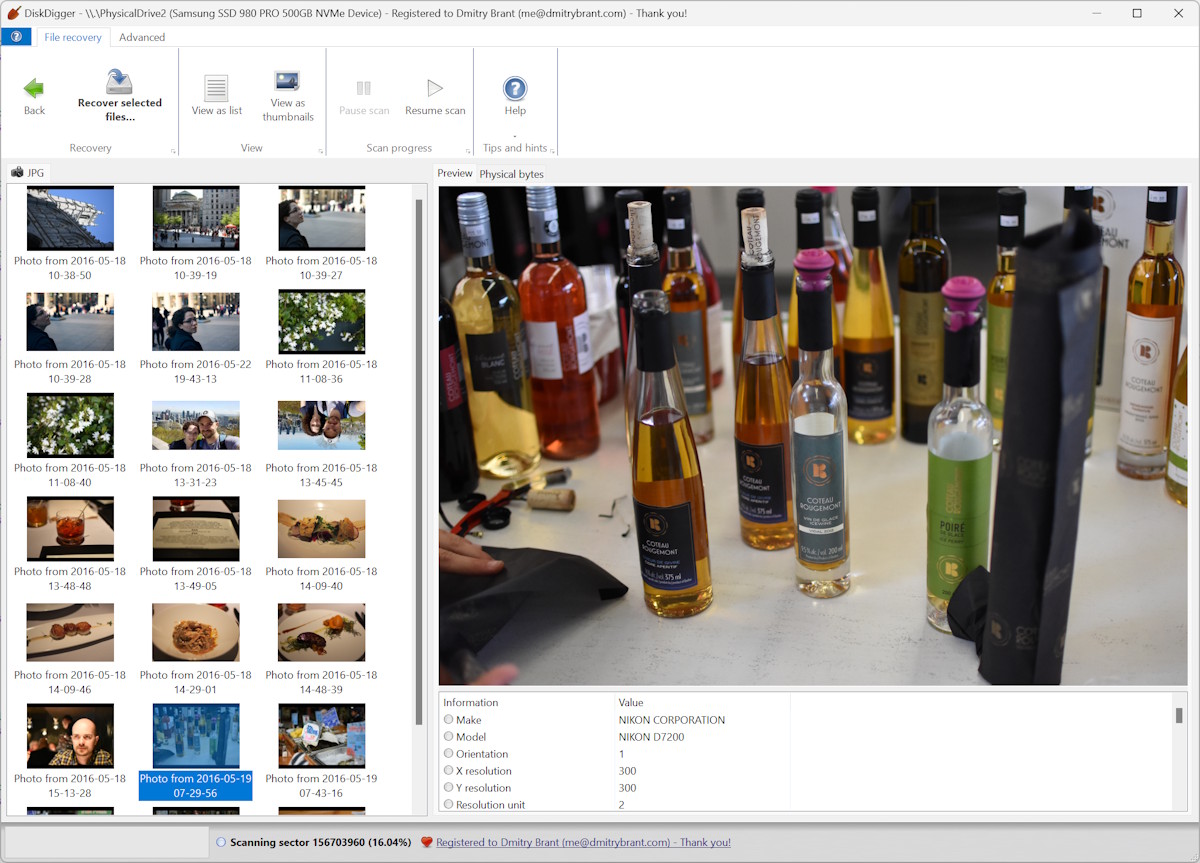
However, it has bothered me for a long time that DiskDigger is not as cross-platform as I would like it to be. Sure, there was the excellent Mono project, with its independent implementation of Windows Forms that bridged the gap somewhat, and allowed DiskDigger to run on Linux, and perhaps even on macOS (albeit only on older 32-bit versions).
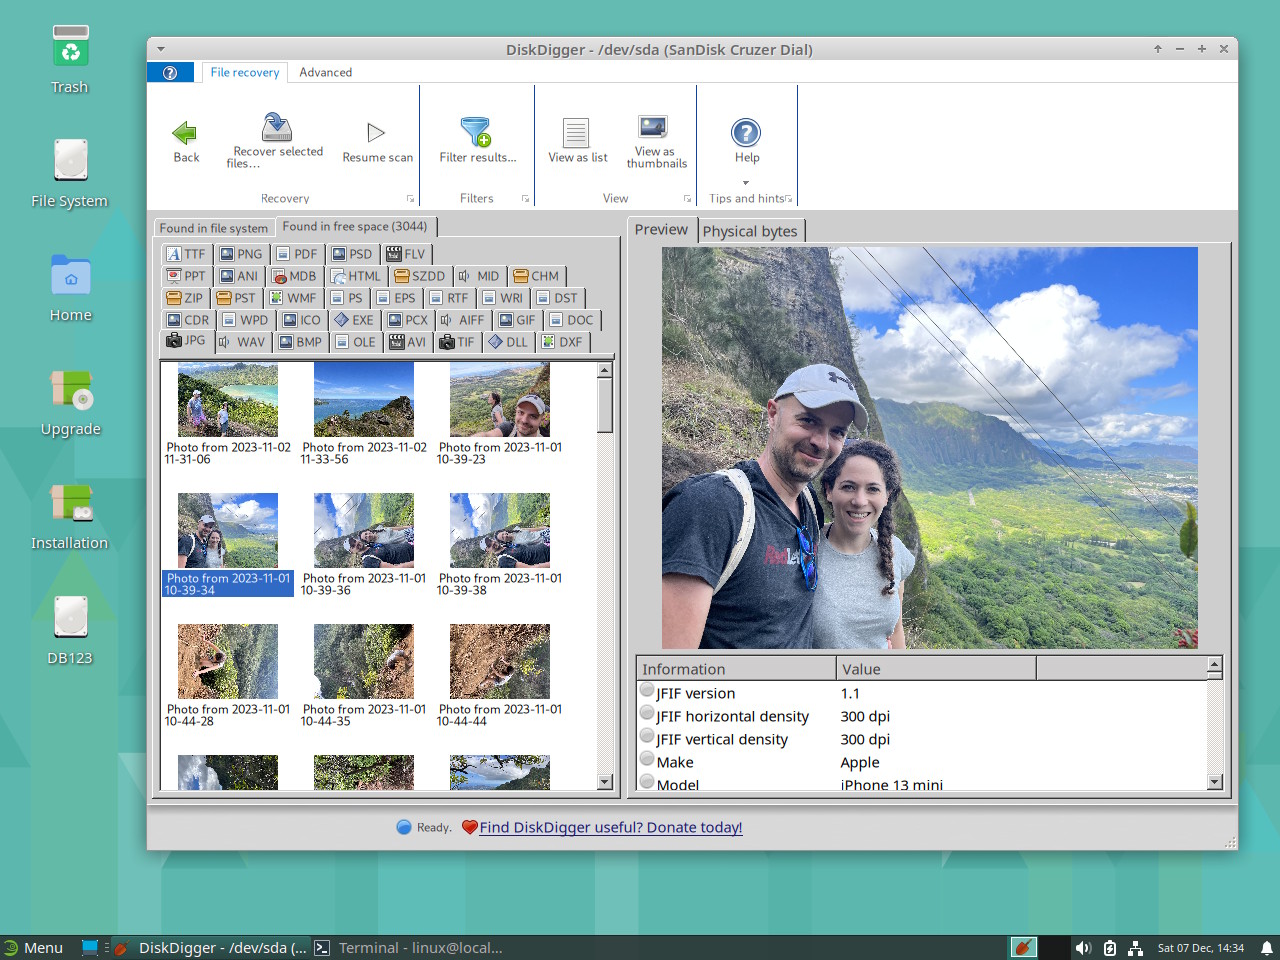
But recently, I decided to roll up my sleeves and take a serious look for a solution that would make DiskDigger truly cross-platform. I had the following rough requirements in mind when looking for a potential framework:
- The framework should be built on .NET, since I’d like to reuse all of the business logic of DiskDigger, which is written in C#.
- The toolkit of UI components should allow me to match the existing UI of DiskDigger without too much hassle.
- The final output should ideally be a single, self-contained executable with no dependencies. There should not be any need for the user to “install” or “uninstall” anything. Installing should simply involve downloading and running the executable, and uninstalling should consist of deleting the executable when no longer needed.
The fact is, years ago I recall going through a similar process of investigating a cross-platform solution, but none of the frameworks I could find at the time seemed to be mature enough for me to commit to, so I kept putting it off, until an unpardonably long time afterwards, but better late than never.
Avalonia immediately jumped out as a strong contender. It is truly cross-platform, in the sense that you “ship the platform” along with your executable. This necessarily means that it will increase the size of the final executable, but I can deal with a moderate amount of bloat, as long as the end result is not like the monstrosities built with something like Electron, which need to ship the entirety of Chromium as their runtime, and make the final product into a 200MB behemoth. On this dimension, Avalonia performs relatively well: the final self-contained executable is about 60MB, and actually compresses nicely to a 30MB zip file for distribution.
.NET itself has also made its own strides in being able to bundle your app into a single executable, with a single command:
dotnet publish -c Release -r linux-x64 --sc -p:PublishSingleFile=true
…where the relevant parameters are --sc for “self-contained”, and the self-explanatory PublishSingleFile=true.
In terms of building your user interface, Avalonia seems to be a spiritual successor to WPF, and I’m embarrassed to say that I’ve never actually used WPF, either professionally or personally. It was an entire era of Windows UI development that I’d skipped over entirely. Because of this, I was a bit worried about the learning curve I’d have to endure to jump from Windows Forms directly to Avalonia. But my fears were unfounded: it didn’t take long at all for everything to “click”, because Avalonia encourages and expects you to use good architectural patterns like view models and data bindings, which I basically already had in place.
But here was the most pleasant surprise of all:
In my day-to-day work, I switch between my main workstation that runs Windows, and my MacBook Pro, and I’m able to work on the same projects for Android and the web on both machines. So I wondered how easy it would be to keep developing DiskDigger with Avalonia on my MacBook, instead of always having to develop it on my Windows PC.
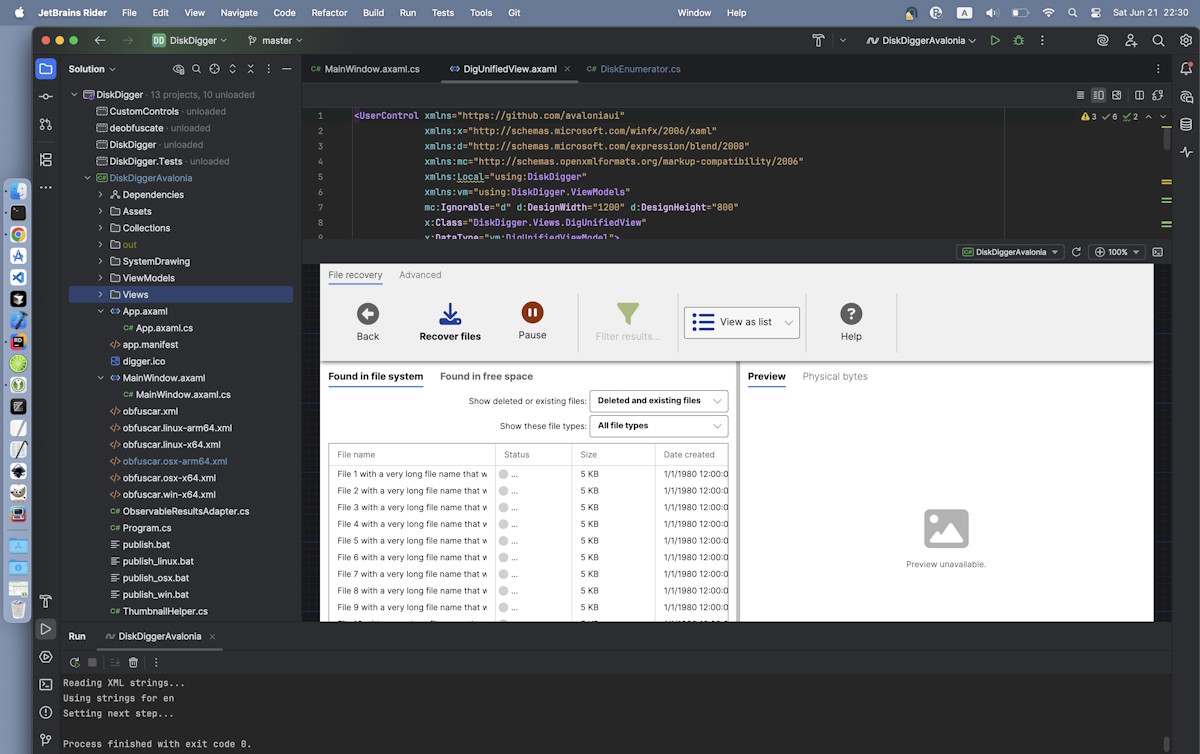
I downloaded Rider (the JetBrains IDE for working with .NET) on my MacBook, installed the Avalonia plugin, and opened my Visual Studio solution. And to my amazement, it just worked! The UI designer, the code completion, everything worked flawlessly, dare I say even better than Visual Studio itself. I was able to keep developing the Visual Studio solution, unmodified, on my Mac. At this point I was convinced that this was the right direction to go in.
After plenty of help from the Avalonia documentation, and a little further help from Claude, I proceeded to rebuild one screen after another, until finally I had an MVP of the whole thing, with the whole process taking around four weeks. And at long last, may I present an experimental (but fully functional and complete!) version of DiskDigger, built with Avalonia UI, which can run not only in Windows, but in Linux and macOS!
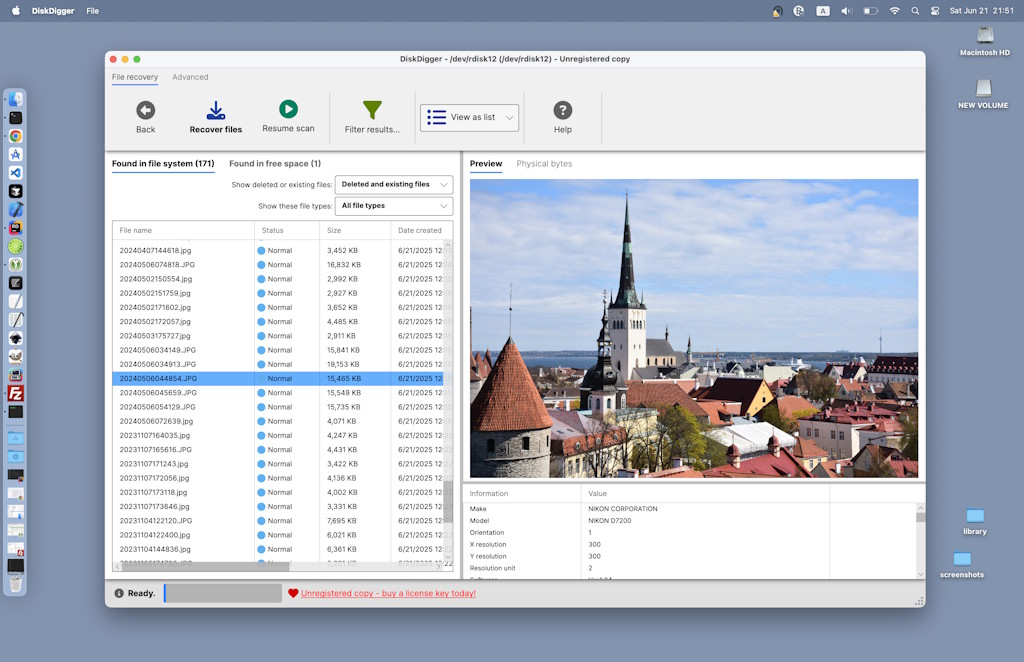
Once again, this is just a Beta version so far, but it is perfectly usable on any platform, and I encourage you to try it and let me know your feedback. For now, I will continue development of this new Avalonia-based edition of DiskDigger in parallel with the existing WinForms-based version, which will still be the “recommended” version for Windows. But in the longer term, I can absolutely envision focusing solely on the Avalonia version, and letting the WinForms version ride into the sunset.
