ECC RAM should be a human right

I am now a staunch advocate for ECC RAM, after the events of last week. You see, over the last several weeks my main desktop workstation has been misbehaving, with occasional freezing and crashing. After some diagnostics I began to suspect a faulty RAM module, and sure enough, upon performing a quick run of memtest86, it lit up the screen with a multitude of bit flip errors, at numerous memory locations, indicating that something was seriously wrong with the RAM.

Within a day or two I scrambled to replace the RAM modules with new ones, and when this was done the problems resolved themselves and everything was stable again. However, there was another more sinister side effect that I discovered shortly afterwards: Some of my data was corrupted! That’s right, it was the worst-case scenario for RAM failure: bit flip errors that get written back to the disk. I discovered that several video files that I had been editing had corrupted bits, and were no longer usable. Fortunately I still have the original source materials for the videos which I can use to recreate the final videos. It’s an unfortunate waste of time, but it could have been a lot worse if I’d let the RAM failure go on even longer. There doesn’t seem to be any further corruption in any more of my personal data, and just to be on the safe side I performed a clean install of Windows, to ensure that no system files or program files are corrupted.

The point of the story is that the data corruption was completely preventable, if only my RAM had ECC built into it. But because it doesn’t, these kinds of bit flip events go completely undetected, and proceed to wreak havoc on the integrity of our data, right under our noses.

Memory manufacturers assure us that desktop RAM is so reliable that it doesn’t need ECC, that the probability of bit flip events is so low that it’s not worth the extra “cost” of ECC. Chip manufacturers (i.e. Intel) produce CPUs that don’t even support ECC memory. Users are expected to upgrade to server-grade components just to get access to ECC memory.

Let’s quickly review the reasons why server-class machines are deemed to be “deserving” of ECC memory, while desktop machines are not:

On a personal desktop computer, your data is stored permanently on a disk, whether it’s a spinning hard drive, SSD drive, memory card, and so on. When you want to do something with your data (e.g. write a document, edit a photo, etc), the data is loaded into RAM, and when you’re finished modifying your data, it’s written back to the disk.

On a server machine, however, the situation is different: since disk access is much slower than RAM access, the server must keep as much data as possible in RAM, so that the data is instantly available to clients who request it. This means that the data ends up sitting in RAM for extended periods of time. If the RAM were to experience bit-flip errors that went undetected, the server would serve incorrect data, or worse, would end up writing incorrect data back to the disk. Therefore, the server’s RAM has ECC, so that it will correct itself in case of an occasional bit flip.

This is oversimplifying a bit, but the difference between a server and a desktop, for this exercise, is simply the amount of time that data is made to sit in RAM. So then, are we supposed to accept that if our data doesn’t remain in RAM for very long, it doesn’t need ECC at all?!

By the way, you’d better believe that your disk(s) have all kinds of error correction schemes built into them, which work automatically and transparently. It’s completely normal for data written to a physical medium to be imperfect, and those imperfections will be corrected by the firmware of the disk.

Well guess what? RAM is a physical medium, and yet we’re simply asked to take the manufacturers’ word that our RAM is reliable enough to never need ECC for the use cases of a desktop workstation. Well, I’m here to say that these practices are reckless, and represent a ticking time bomb for anyone who uses non-ECC memory for anything nontrivial. And it seems I’m not the only one.

(discussion on HackerNews)

Software update round-up

It’s high time to give some love to a few of my older and less-maintained software projects, and bring them up to date with a few much-needed and requested features!

DiskImager

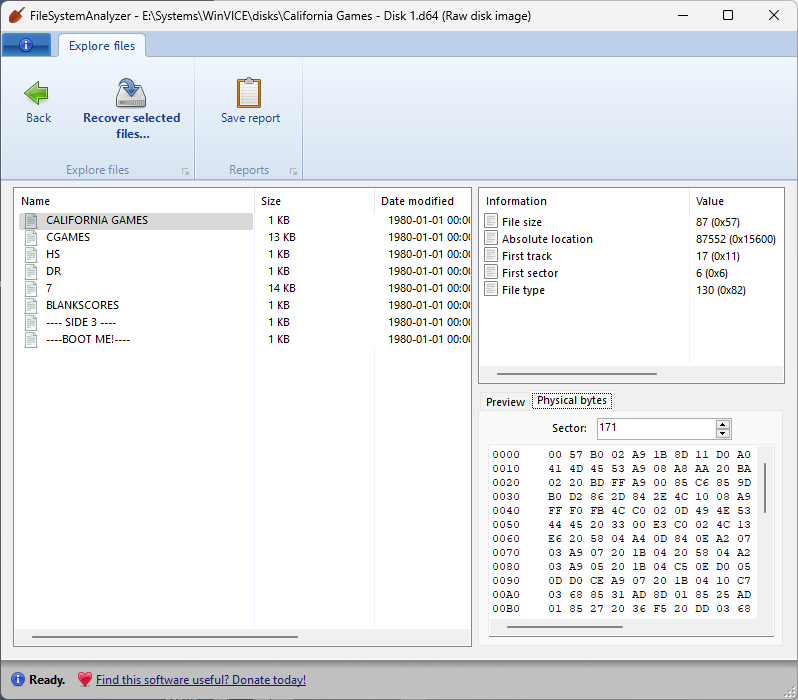
DiskImager is a tool that I’ve used “internally” for a few years now to read and write raw disk images. I’ve simply never found the time to polish it up and make it production-ready, until now. This is a small standalone tool that will dump the contents of any drive connected to your PC to a file on another (larger) drive. It can also write a disk image file to a physical disk. Furthermore, when selecting a disk image to write to a physical disk, you can choose from several types of image formats (besides raw images) including VDI, VMDK, VHD, and E01.

FileSystemAnalyzer

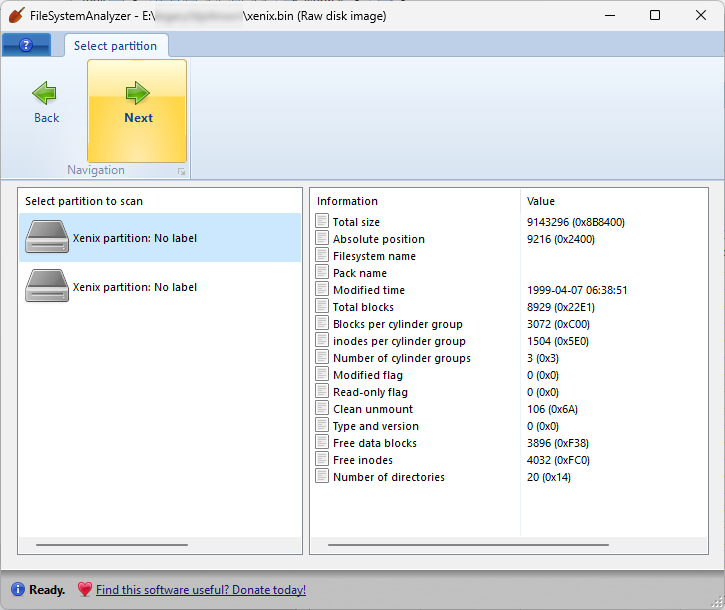
The FileSystemAnalyzer tool has gotten a huge number of bug fixes, as well as these enhancements:

  • Improved compatibility with FAT, exFAT, NTFS, ext4, and UDF filesystems in various states of corruption.
  • Improved previews and metadata for more file types.
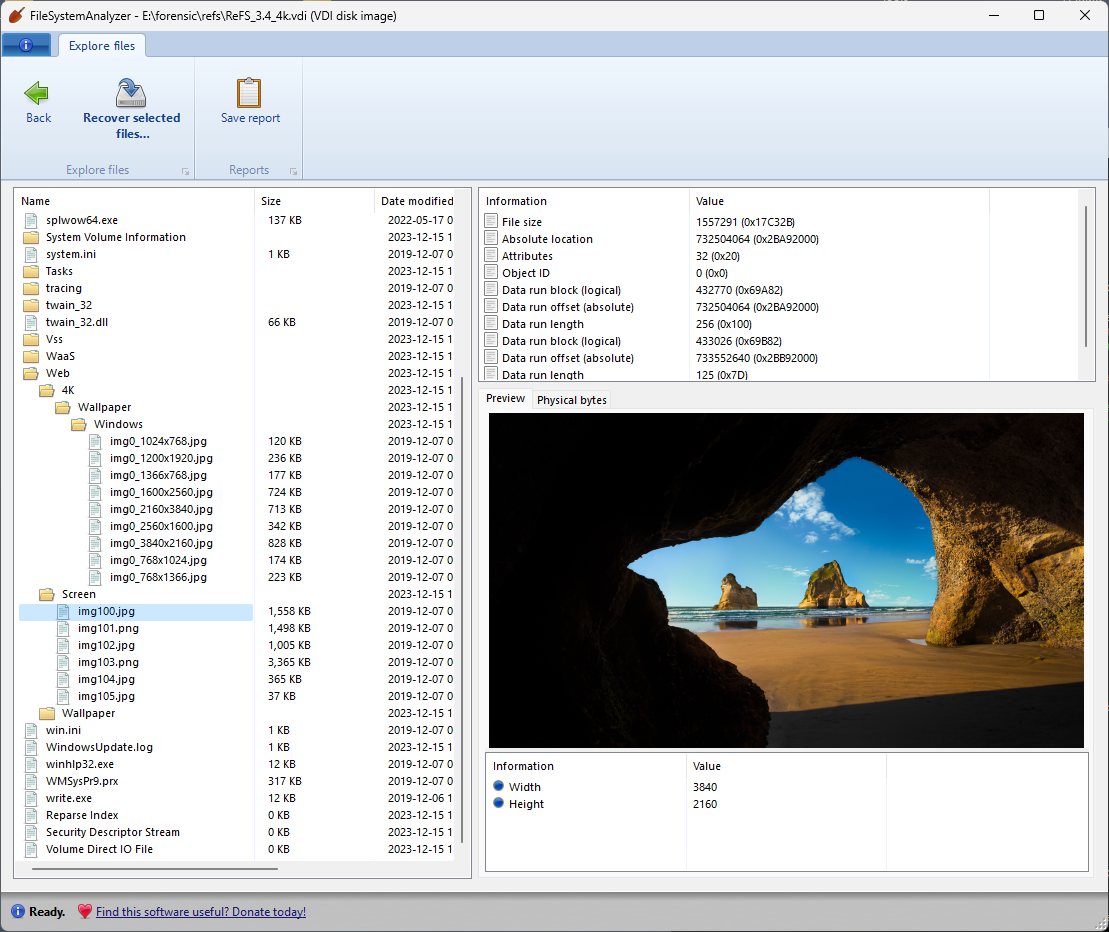
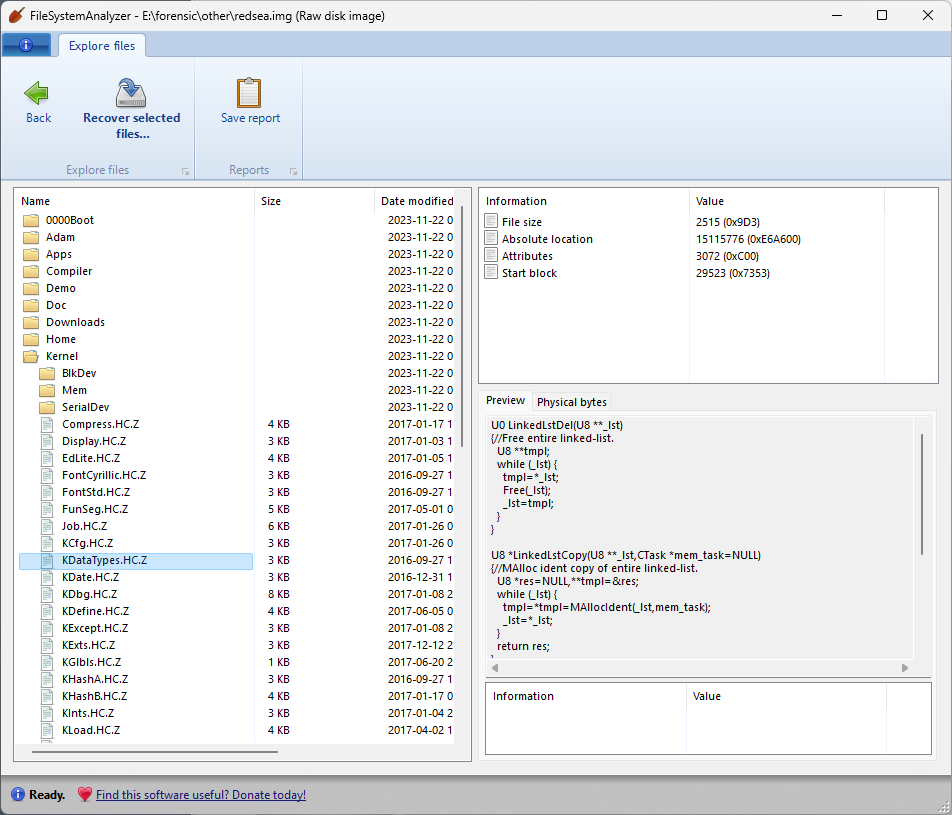
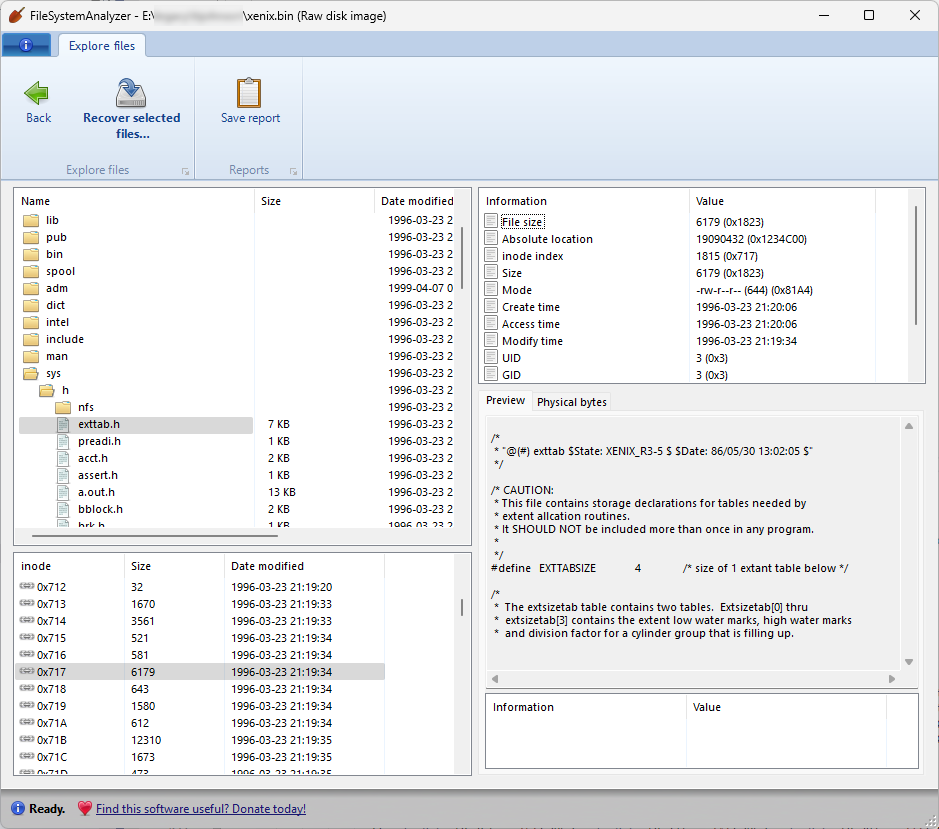
  • The main file tree view now has columns with file size and date, similar to Windows Explorer. These columns are clickable to sort the file list by ascending or descending order of the column type.
  • Directories can now be saved from the file tree view (recursively), in addition to individual files.

Outlook PST viewer

The PST viewer tool has been updated to be more compatible with a wider range of PST files from different versions of Outlook, and to be more forgiving of corrupted PST files. There is also a new option to save individual messages as .MSG files.

Minimalist programming, Android edition

Suppose you open Android Studio and create a new project from a template, say, a blank Activity with a button. Then build the project, and look at the APK file that is produced. You’ll notice that the APK is over 3 MB in size. These days we don’t bat an eye at these kinds of numbers, and indeed this size is pretty modest in the grand scheme of today’s software ecosystem. However, objectively speaking, 3 MB is a lot! Let’s take a deep dive into what these 3 MB actually consist of, and see how much we can reduce that size while maintaining the same functionality.

The app I’ve built for this exercise is slightly more complex than “hello world”; it’s an app that could actually be minimally useful: a simple tip calculator.

It’s literally a single input field (an EditText component) where the user enters a number, followed by a few lines of text that tell the user different percentages of that number — 15%, 18%, and 20%, which are the most common tipping percentages in the U.S.

Once again, with the default project settings generated by Android Studio, this app comes out to about 3.2 MB when it’s built. Let’s examine the generated APK file and see what’s taking up all that space:

Right away we can see that the heaviest dependency by far is the AndroidX library, followed by the Kotlin standard library and the Material library (under the com.google package). In fact the code that actually belongs to our package (com.dmitrybrant.tipcalc) is a mere 76 KB, dwarfed by the library dependencies that it’s referencing.

To be fair it’s possible to reduce the size of the APK by a good amount by using the minifyEnabled directive, which is not enabled by default. In fact it would probably optimize away most of the “kotlin” dependency and much of the “androidx” dependency. However, even with minifyEnabled our APK size would still be on the order of megabytes. For the purpose of this exercise I left minifyEnabled off, so that we can see exactly which packages are contributing to the code sizes in our APK.

In any case, let’s start whittling away at this extra weight, and see how lean we can get.

The Kotlin tax

As we can see, merely using Kotlin in our app causes the Kotlin standard library to get bundled into the APK. If we don’t want this library to get bundled, we must no longer use Kotlin. (Although I’ll repeat that if we use minifyEnabled, then Kotlin would pretty much be optimized away, so this is more of an observation than a “tax.”)

After converting the code to plain Java and rebuilding the app, our APK is now 2.7 MB:

That’s a little better! But now can we remove the bulkiest dependency, namely the androidx library?

The AndroidX tax

AndroidX is a fabulous library that ensures your app will run consistently on a huge range of different devices (but not all of them!) and different versions of the Android OS. It makes perfect sense that AndroidX is used by default for new projects, and I’m not saying that you should reject it when building your next app. Buuuut… could we actually get away with not using it? How would our app look and run without it? And would our app still run on the same range of devices?

Getting rid of AndroidX means that our app will rely solely on the SDK libraries that are part of the operating system on the user’s device itself. To get rid of AndroidX in our project, we need to do the following:

  • Our Activity can no longer inherit from AppCompatActivity, and will now simply inherit from the standard Activity class from the SDK.
  • We can no longer use fancy things like ConstraintLayout, and will be limited to using basic components like LinearLayout.
  • Our theme definitions can no longer inherit from predefined Material themes. We will need to apply any color and style overrides ourselves.

After these modifications are all done, here’s what our APK looks like:

That’s right, you’re not dreaming, the app is now 88 KB. That’s kilobytes! Now we’re getting somewhere. And if we look closely at those numbers, we see that the bulk of the size is now taken up by the resources that are bundled in the app. What are those resources, you ask?

Launcher icons

By default Android Studio generates a launcher icon for our app that takes several forms: a mipmap resource, which is a series of PNG files at different scales, which will be chosen by the launcher to match the pixel density and resolution of the device, and also a vector resource that will be used instead of the mipmap on newer devices (Android 8 and higher).

This is all very useful stuff if you need your launcher icon to appear pixel-perfect across all devices. But since our goal is minimalism, we can dispense with all of these things, and instead use just a single PNG file as our launcher icon. I created a 32×32 icon and saved it as a 4-bit PNG file, making it take up a total of 236 bytes. It doesn’t look perfect, but it gets the point across:

So, after getting rid of all that extraneous baggage, how are we looking now?

We’ve arrived at 10.5 KB! This is more like it. It may be possible to squeeze it down even further, but that would necessitate doing even more hacky and inconvenient things, such as removing all XML resources and creating layouts programmatically in our code. While I’m going for minimalism, I do still want the app to be straightforward to develop further, so I’m happy to make this a good stopping point.

This is definitely closer to the size that I would “expect” a tip calculator app for a mobile device to be. Speaking of mobile devices, which devices will this app be able to run on?

Compatibility

By default Android Studio sets our minimum SDK to 21, making our app compatible with Lollipop and above. There are plenty of good reasons to set your minimum SDK to 21, but now that we’ve removed our dependency on AndroidX, as well as our dependency on vector graphics, there’s nothing stopping us from reducing our minimum SDK even lower. How much lower? How about… 1? That’s right, we can set our minimum SDK version to 1. This would make our app compatible with literally every Android device ever made.

I don’t own any devices that actually run Android 1.0, but here is my Tip Calculator app running on the oldest device I own, a Samsung Galaxy Ace from 2011, running Android 2.3 (API 9):

And here is the same app running on my current personal phone in 2021, a Google Pixel 3 XL running Android 11 (API 30):

Takeaways

Aside from being an interesting random exercise, there’s a point I hope to convey here:

As time goes by, software seems to be getting more and more bloated. I believe this might be because developers aren’t always cognizant of the cost of the dependencies they’re using in their projects, whether it’s third-party libraries that provide some kind of convenience over standard functionality, or even the standard libraries of their chosen programming environment that the developer has gotten used to relying upon.

As with anything in life, there should be a balance here — a balance between convenience offered by libraries that might add bloat, and lower-level optimization and active reduction of bloat. However, it feels like this balance is currently not in a healthy place. The overwhelming emphasis seems to be on convenience and abstraction ad infinitum, and virtually no emphasis on stepping back and taking account of the costs that these conveniences incur.

Android is far from the worst offender in the world of bloat, and even though a 3 MB binary may be totally acceptable, it doesn’t have to be that way. Even though bulky standard libraries should be used in the majority of cases, they don’t need to be used all the time, and there may even be cases where the app would benefit from not using them. If only developers would maintain a better sense of how their dependencies are impacting the size of their apps, or indeed what dependencies they’re even using in the first place, we can begin to restore the balance of bloat in our lives.

The problem of recovering data from SSD drives

One frequent question I receive from users of DiskDigger is: Why does it seem to be unable to recover data from my internal SSD drive? And since SSDs have become nearly ubiquitous in laptops and desktops, this question is becoming more and more common.

The short answer: It is generally not possible to recover deleted data from internal SSD drives, because they are very likely using the TRIM function.

How do I know if TRIM is enabled?

It probably is. If you have an SSD drive that is internal to your computer (NVMe drive, SATA drive, etc), and you’re using a modern operating system (Windows 7 and newer, macOS, etc), then it’s likely that TRIM will be enabled by default, because it’s highly beneficial to the performance of your SSD drive.

Why?

SSD (flash memory) drives work fundamentally differently from older magnetic (spinning disk) hard drives.

With both types of drives, when data is deleted, the physical blocks that were occupied by the data are marked as “available”, and become ready to be overwritten by new data.

With a magnetic spinning hard drive, an available block can be overwritten regardless of what data was in that block previously; the old data gets overwritten directly. However, the same is not true for flash memory: a flash memory block must be erased explicitly before new data is written to it. And this erase operation is relatively expensive (i.e. slow). If an SSD drive was to erase memory blocks “on demand”, i.e. only when a new file is being written, it would slow down the write performance of the drive significantly.

Therefore, an SSD drive will erase unused memory blocks preemptively, so that the memory will be pre-erased when a new file needs to be written to it. Since the drive has no knowledge of what filesystem exists on it, the drive relies on the operating system to inform it about which memory blocks are no longer used. This is done using the TRIM command: When the operating system deletes a file, in addition to updating the necessary filesystem structures, it also sends a TRIM command to the drive, indicating that the memory blocks occupied by the deleted file can now be considered “stale”, and queued up for erasing.

The SSD drive erases TRIMmed blocks in the background while the drive is idle, transparently to other operations. In effect this means that for any file that’s deleted from an SSD drive, once the drive purges those stale blocks, the actual contents of the file will be wiped permanently from the drive, and will no longer be recoverable.

The above is a slight simplification, since SSD drives also perform wear-leveling which uses rather complex logic involving copying and remapping logical addresses to different physical memory pages, but the general point stands.

Exceptions

There are a few cases when deleted data may be recoverable from an SSD drive:

  • If TRIM happens to be disabled for some reason. As mentioned above, the TRIM feature is something that is enabled at the level of the operating system. It is usually enabled by default for performance reasons. Nevertheless, most operating systems will let you check whether or not TRIM is enabled, and optionally disable it. For example, in Windows you can run the command fsutil behavior query disabledeletenotify to see if TRIM is currently enabled.
  • If you’re using an external SSD drive connected over USB. Support for issuing the TRIM command over a USB connection is relatively new, and is not yet supported by all USB controllers and operating systems. If you deleted files from an external SSD drive that’s connected to a USB port, there’s a fair chance that the data might be recoverable.
  • If you attempt to recover the files immediately after they’re deleted, and the drive provides the contents of stale blocks (which is rare). As mentioned above, the TRIM command puts the deleted memory blocks in a queue of stale blocks, so it’s possible that the SSD drive won’t actually erase them for a short while. The timing of when exactly the TRIMmed blocks are erased is entirely up to the drive itself, and differs by manufacturer. If you search the drive for deleted data sufficiently soon after it’s deleted, and the drive doesn’t return null data for stale blocks, it may still be possible to recover it.
  • Due to the way that SSD drives perform wear-leveling, it may be possible for stale blocks to get reallocated and copied to different physical positions in the drive, leaving behind the original data in their old locations. Unfortunately this kind of data is generally not accessible using any software tools, including DiskDigger, and can be accessed only by disassembling the drive and reading the physical flash memory chip directly, which is a very expensive procedure done by enterprise-level data recovery labs.

Summary

Despite the above challenges, there’s no harm in trying to use DiskDigger to recover files from your SSD drive, and in certain cases it will be successful. However, if you’ve deleted files from an internal SSD drive, the overall prognosis for recovering them is unfortunately not good.

Reverse engineering a 25-year-old Visual Basic app

Following up from last week’s misadventures with the Avant Stellar keyboard (trying and failing to extract macro information from the keyboard’s internal memory), there was another glimmer of hope:  my friend found a backup file that possibly contains all the macros that were saved to the keyboard.  If I could just reverse-engineer this backup, we could extract the macros directly from the file.  It is a 2 KB file with a .KBD extension, unrecognizable as any binary format I’ve seen to date. Here is a partial hex dump of the file:

It’s pretty clear that the file contains a key mapping, as evidenced by the list of incrementing 32-bit numbers at the beginning, up to offset 0x210.  There are roughly 120 increasing numbers, which is roughly the number of keys on the keyboard, so we can safely assume that this is the key mapping.  After the key mapping, I presume, comes the macro information, and this is where things get tricky, since there’s virtually no way to tell how the macros are encoded in the file. The data simply looks too general to make sense of.

An obvious possibility would be to “load” the backup file into the Avant software tool that came with the keyboard, and visually inspect the macro(s) assigned to each key.  But no matter what I tried, the software would not load the file.  Or rather, it loaded the key mapping, but not the macros.  Time to think about the nuclear option: disassemble the Avant software and see how it’s actually processing the backup file.

Looking at the folder contents of the Avant software tool, I immediately notice a dead giveaway: VBRUN300.DLL, which means this tool was written in Visual Basic 3.0.  This makes our job much easier, because there are actually ready-made tools for decompiling Visual Basic executables. (If you recall, Visual Basic compiles executables into p-code instead of native machine code, which makes them much more straightforward to decompile.)  All of this took me quite a while to remember, because I hadn’t used these tools since my early, early hacking days, and it took a little while longer to find them in my archives!  The go-to utility for performing this task was literally called VB3 Decompiler, and the way to find this tool on the web today is… outside the scope of this post.

The decompilation basically results in several Visual Basic source files, in which the original function names are intact, but the local and global variables are changed to generic identifiers, since those names are not stored in the compiled code. It takes a little bit of further massaging to get these files to actually build within Visual Basic, but after that, it’s almost as if you have the original source code of the program at your fingertips.

There was one other minor hurdle because the Avant software uses custom UI components (.VBX files) that don’t allow themselves to be used in Design mode (as part of a copy-protection or licensing mechanism), but this is bypassable using another utility in the decompiler suite that “fools” Visual Basic into loading the components anyway.

With the source code buildable and debuggable, we can now easily run the program and load the .KBD backup file, and trace through where it processes the data in the file:

Even though the variable names aren’t very descriptive in the above screenshot, it’s easy enough to spot the loop that deserializes the keyboard macros, and how each macro is composed.  Not only that, but we can determine what was preventing it from displaying the macros in the first place – it turned out that it expects the keyboard to be physically connected while running, and while I’m pretty sure that we tried loading the backup with the keyboard attached, it wasn’t working anyway, probably because the keyboard is malfunctioning and no longer able to communicate properly.  But at last, with this requirement bypassed, the macros that were loaded from the backup file finally reveal themselves: