Usually I post updates about DiskDigger on its own website, but my most recent round of updates merits a slight technical digression.
Previous versions of DiskDigger and FileSystemAnalyzer have already had basic support for 4K-native disk drives, i.e. drives that have 4 KiB sectors instead of the usual 512 bytes. However, only recently have I been able to test this support more thoroughly, fixing a few bugs along the way. 4K-native drives have been around for a while, and in fact most modern drives already use 4K sectors natively under the hood, but simply emulate 512-byte sectors to the outside world. However, increasingly we’re seeing more drives that no longer emulate 512-byte sectors (exposing the native 4K sectors to the operating system), as well as users who are opting to reconfigure the firmware of their drive to use 4K sectors instead of 512-byte emulation. DiskDigger and FileSystemAnalyzer can now handle all of these cases when mounting and searching file systems that might be present on such disks (FAT, NTFS, ext4, etc).
I did most of my testing and experimenting using a real 4Kn drive, but some testing I did with emulated disk images. Here is how you can configure qemu to treat a disk image as a 4Kn drive:
qemu-system-x86_64.exe -machine q35 -m 8G -boot d -cdrom "linux.iso" -drive file=mydisk.vdi,if=none,format=vdi,id=D24 -device nvme,drive=D24,serial=1234,logical_block_size=4096,physical_block_size=4096
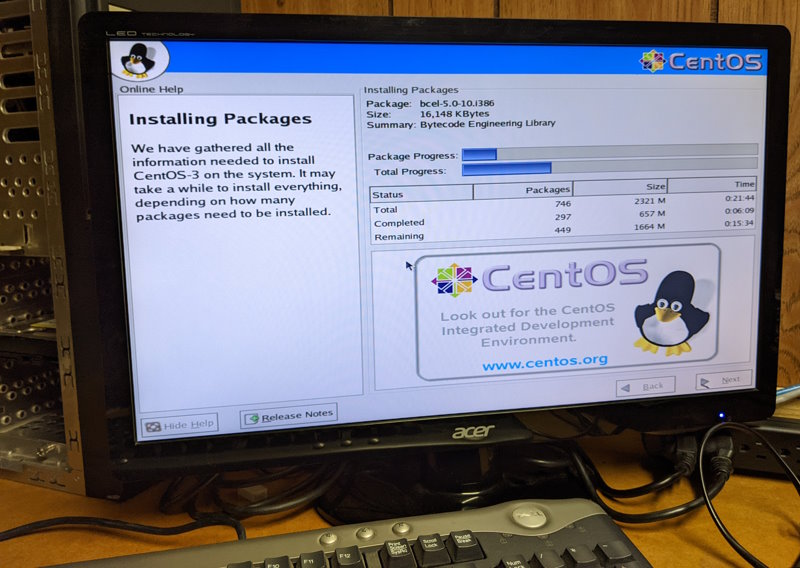
The above example boots qemu from an ISO file, which can be a Linux live DVD, and makes the hard disk become a NVMe device, which allows us to configure its physical and logical block size, which we set to 4096. Linux should detect this NVMe device automatically, which will then let you create partitions and file systems on it for experimentation.
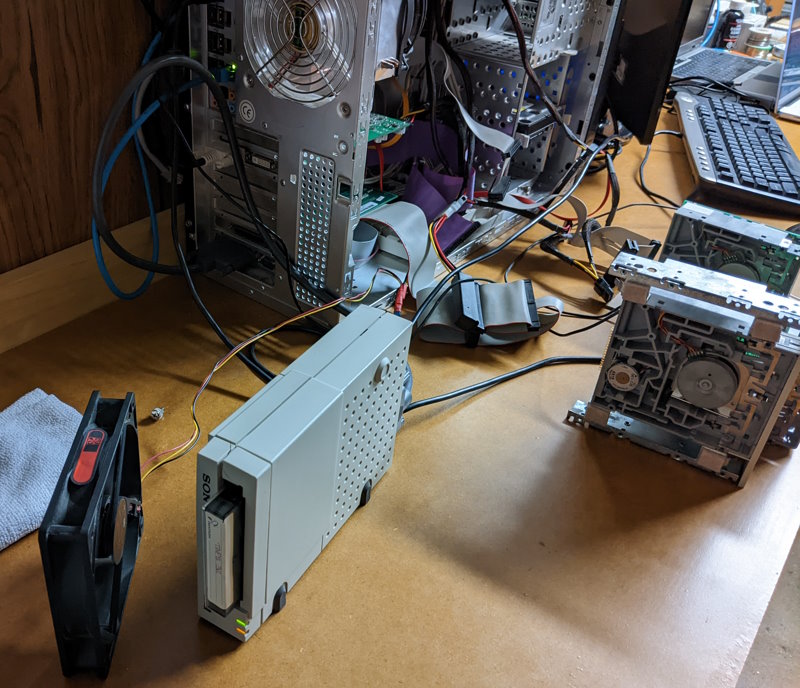
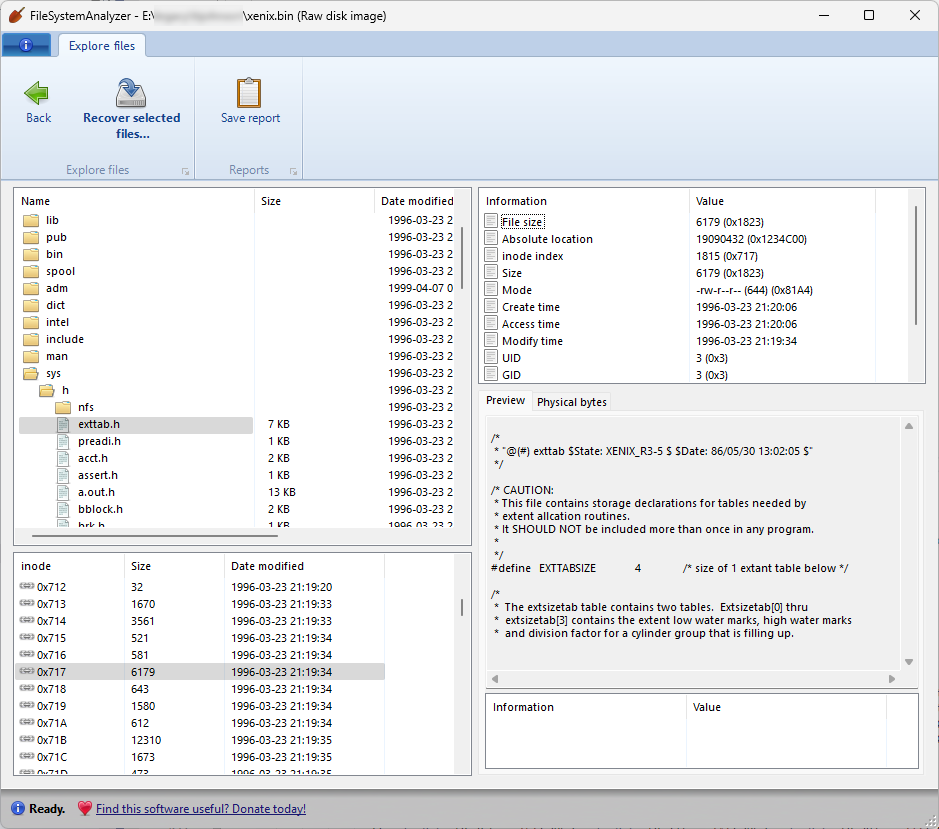
The other interesting update has to do with ancient retro file systems that are supported by FileSystemAnalyzer (and by extension DiskDigger). By coincidence, I’ve been contacted by multiple people in a short span of time regarding recovering data from Xenix file systems which they’ve saved as binary disk images. One image is from an Intel System 320 Multibus System owned by Herb Johnson of retrotechnology.com, and another is from an owner of an Altos 586 system in New Zealand.
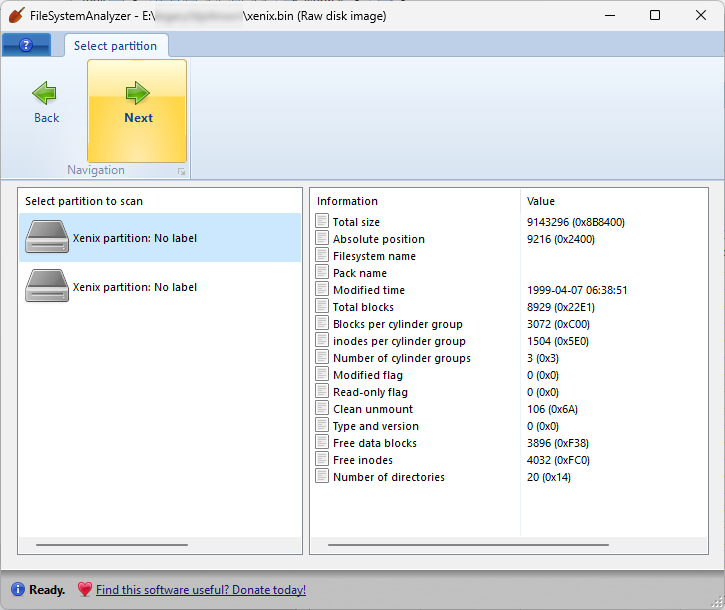
Each of these images used a slightly different version of the Xenix file system, each of which use a different structure for their superblock (and each of which is different from the Xenix/SysV support that’s built into the current version of the Linux kernel). This took a bit of effort to reverse-engineer, but ultimately wasn’t too difficult to crack and integrate into FileSystemAnalyzer. The nice thing about dealing with very old data formats is that they’re usually very simple, not to say primitive. Best of all, these Xenix images contain C header files that actually describe their own filesystem structure (can I call them eigenheaders?), which I was able to use for refining and solidifying support for these file systems.
I even learned something else that was new to me: in addition to little-endian and big-endian byte orders, there’s also something called “middle-endian” or “PDP-11-endian”, where 16-bit values are stored in native little-endian order, but 32-bit long integers are composed of two 16-bit words in big-endian order (while the numbers in both 16-bit halves are still little-endian). This was the encoding used by the PDP-11 system, and apparently also by the Altos 586 system which was running this version of Xenix. All of these variations are now supported in FileSystemAnalyzer.