The versatility of the Raspberry Pi seems to know no bounds. For a while I’ve been wanting to set up a DIY home security system in my house, and it turns out that the Raspberry Pi is the perfect choice for this task, and more. (The desire for a security system isn’t because we live in a particularly unsafe neighborhood or anything like that, but just because it’s an interesting technical challenge that provides a little extra peace of mind in the end.)
Camera integration
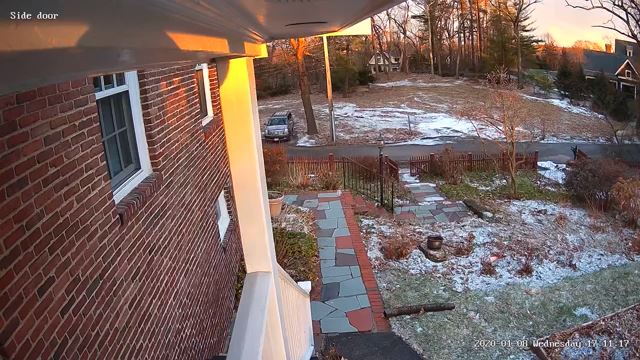
I began with a couple of IP cameras, namely the Anpviz Bullet 5MP cameras, which I mounted on the outside of the house, next to the front door and side door. The cameras use PoE (power over Ethernet), so I only needed to route an Ethernet cable from the cameras to my PoE-capable switch sitting in a closet in the basement.
At first I assumed that I would need to configure my Raspberry Pi (3) to subscribe to the video streams from the two cameras, do the motion detection on each one, re-encode the video onto disk, and then upload the video to cloud storage. And in fact this is how the first iteration of my setup worked, using the free MotionEye software. However, the whole thing was very sluggish, since the RPi doesn’t quite have the horsepower to be doing decoding, encoding, and motion detection of multiple streams at once (and I didn’t want to compromise by decreasing the video quality coming from the cameras), so my final output video was less than 1 frame per second, with my RPi running at full load and getting quite warm. Definitely not a sustainable solution.
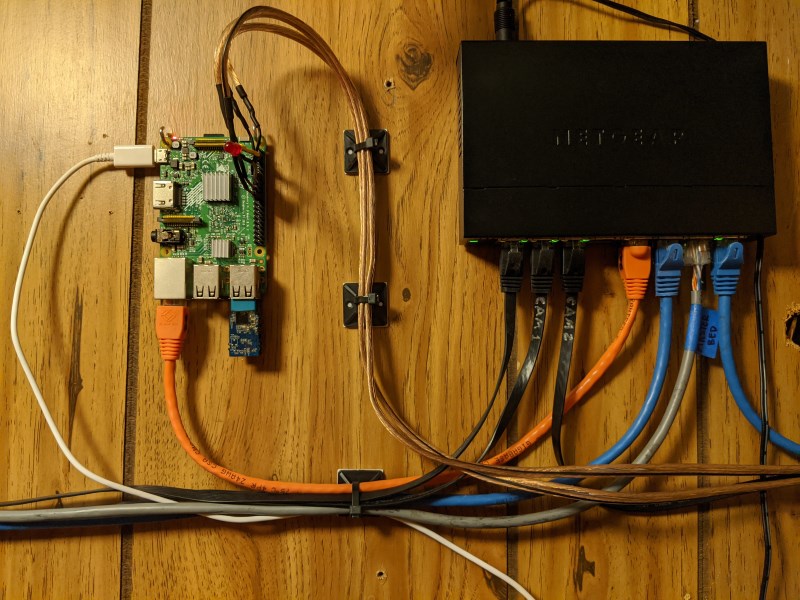
But then I realized that a much simpler solution is possible. The Anpviz cameras are actually pretty versatile themselves, and can perform their own motion detection. Furthermore, they can write the video stream directly onto a shared NFS folder! Therefore, all I need to do is set up the RPi to be an NFS server, and direct the cameras to write to the NFS share whenever motion is detected.
And that’s exactly what I did, with a little twist: I attached two 16 GB USB flash drives to the RPi, with each USB drive becoming an NFS share for each respective camera. That way I’ll get the maximum throughput of data from the cameras directly to USB storage. With this completed setup, the Raspberry Pi barely reaches 1% CPU load, and stays completely cool.
I wrote a Python script that runs continuously in the background and checks for any new video files being written onto the USB drives. If it detects a new file, it automatically uploads it to my Google Drive account, using the Google Drive API which turned out to be fairly easy to work with, once I got the hang of it. The script automatically creates subfolders in Google Drive corresponding to the current day of the week, and which camera the video is from. It also automatically purges videos that are more than a week old.
I have to heap some more praise onto the cameras for supporting H.265 encoding, which compresses the video files very nicely. All in all, with the amount of motion that is typical on a given day, I’m averaging about 1 GB per day of video being recorded (at 1080p resolution!), which makes 7 GB in a rolling week’s worth of video, which is small enough to fit comfortably in my free Google Drive account, without needing to upgrade to a paid tier of storage.
Water sensor
Since my Raspberry Pi still had nearly all of its processing power still left over, I decided to give it some more responsibility.
About a month ago the sewer drain in the house became clogged, which caused it to back up and spill out into the basement. Fortunately I was in the basement while this was happening and caught it before it could do much more damage. An emergency plumber was called, and the drain was snaked successfully (turned out to be old tree roots). However, from now on I wanted to be warned immediately in case this kind of thing happens again.
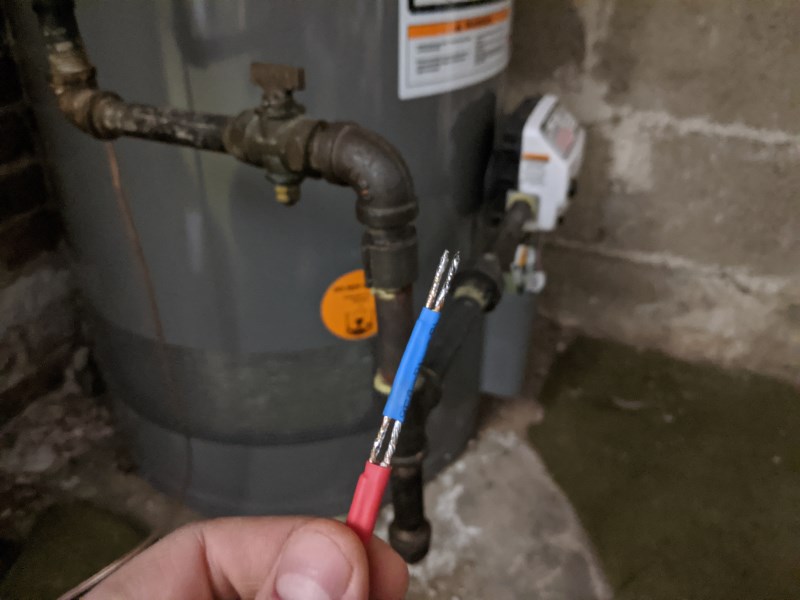
So I built a very simple water sensor and connected it to the Raspberry Pi. In fact “very simple” is an understatement: the sensor is literally two wires, close together, which will short out if they come into contact with water. I used some very cheap speaker wire, and routed it from the RPi to the drain from where the water can potentially spill out.
On the Raspberry Pi, one wire is connected to ground, and the other is connected to a GPIO pin with a pull-up resistor enabled. This means that if the wires are shorted out, the GPIO input will go from HIGH to LOW, and this will be an indication that water is present. The sensor is being monitored by the same Python script that monitors and uploads the camera footage, and will automatically send me an email when the sensor is triggered.
For good measure, I installed a second water sensor next to our hot water tank, since these have also been known to fail and leak at the most inconvenient times.
And that’s all for now. The Raspberry Pi still has plenty of GPIO pins left over, so I’ll be able to expand it with additional sensors and other devices in the future.
Notes
Here are just a few random notes related to getting this kind of system up and running:
Enable shared NFS folder(s)
Install the necessary NFS components:$ sudo apt-get install nfs-kernel-server portmap nfs-common
Add one or more lines to the file /etc/exports:/folder/path_to_share *(rw,all_squash,insecure,async,no_subtree_check,anonuid=1000,anongid=1000)
And then run the following:$ sudo exportfs -ra
For good measure, restart the NFS service:$ sudo /etc/init.d/nfs-kernel-server restart
Run script(s) on startup
- Add line(s) to
/etc/rc.local - If it’s a long-running script, or continuously-running, then make sure to put an ampersand at the end of the line, so that the boot process can continue.
Automatically mount USB drive(s) on boot
When the Raspberry Pi is configured to boot into the desktop GUI, it will auto-mount USB drives, mounting them into the /media/pi directory, with the mount points named after the volume label of the drive. However, if the Pi is configured to boot into the console only (not desktop), then it will not auto-mount USB drives, and they will need to be added to /etc/fstab:/dev/sda1 /media/mount_path vfat defaults,auto,users,rw,nofail,umask=000 0 0
(The umask=000 parameter enables write access to the entire disk.)
Set the network interface to a static IP
Edit the file /etc/dhcpcd.conf. The file contains commented-out example lines for setting a static IP, gateway, DNS server, etc.
And lastly, here are a couple of Gists for sending an email from within Python, and uploading files to a specific folder on Google Drive.