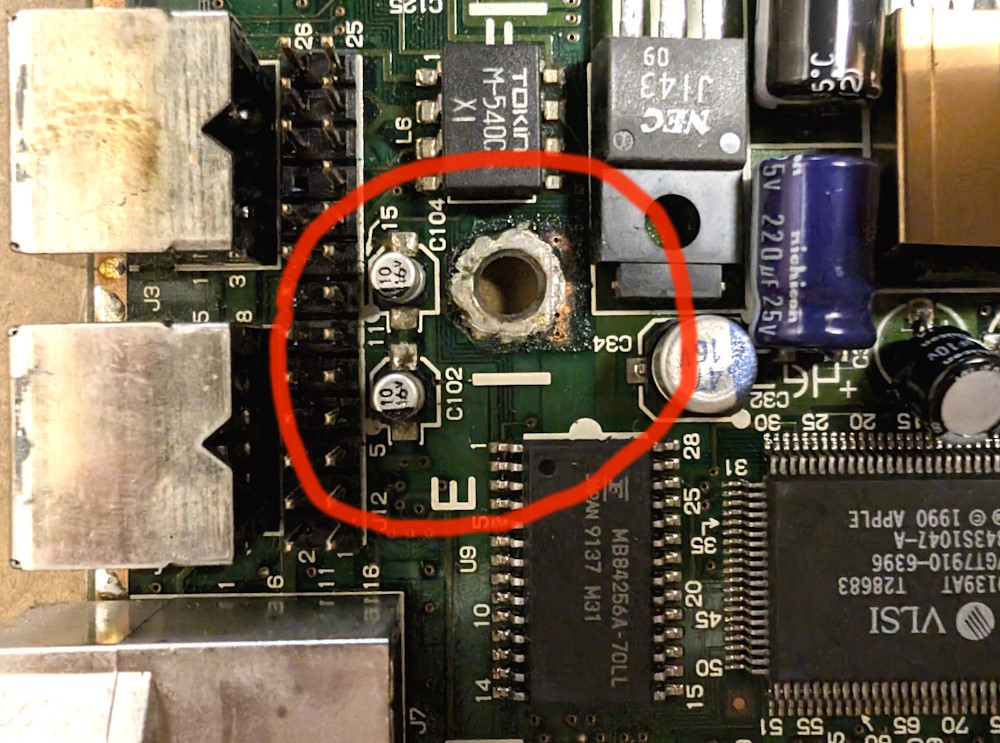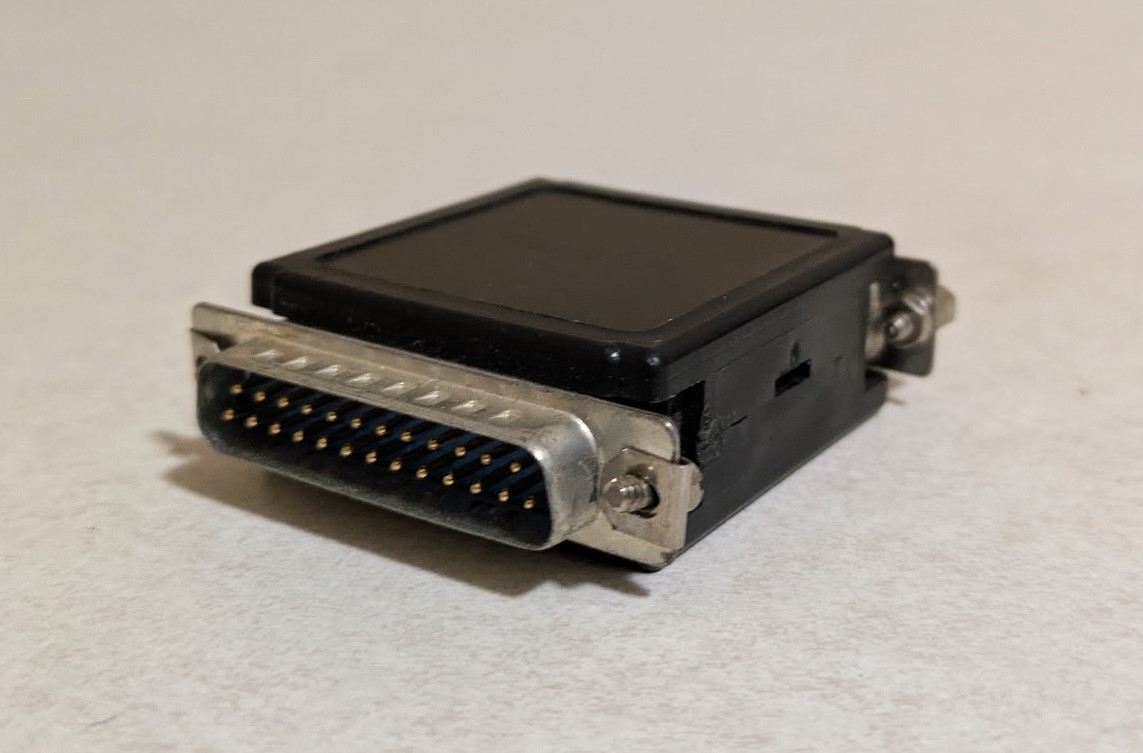
That’s right — this little device is what stood between me and the ability to run an even older piece of software that I recently unearthed during an expedition of software archaeology.
For a bit more background, I was recently involved in helping a friend’s accounting firm to move away from using an extremely legacy software package that they had locked themselves into using for the last four decades.
This software was built using a programming language called RPG (“Report Program Generator”), which is older than COBOL (!), and was used with IBM’s midrange computers such as the System/3, System/32, and all the way up to the AS/400. Apparently, RPG was subsequently ported to MS-DOS, so that the same software tools built with RPG could run on personal computers, which is how we ended up here.
This accounting firm was actually using a Windows 98 computer (yep, in 2026), and running the RPG software inside a DOS console window. And it turned out that, in order to run this software, it requires a special hardware copy-protection dongle to be attached to the computer’s parallel port! This was a relatively common practice in those days, particularly with “enterprise” software vendors who wanted to protect their very important™ software from unauthorized use.
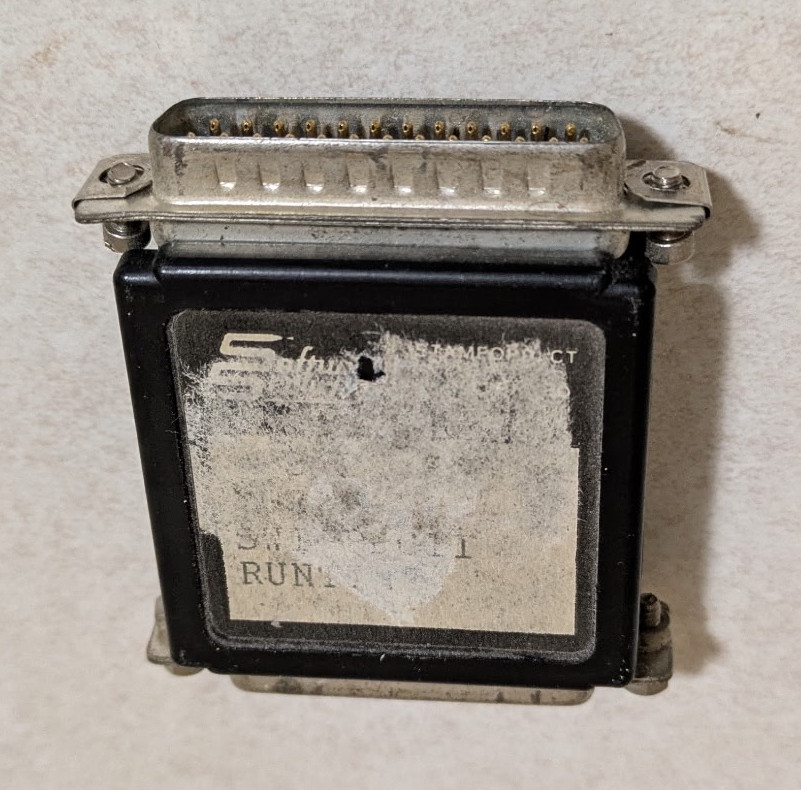
Sadly, most of the text and markings on the dongle’s label has been worn or scratched off, but we can make out several clues:
- The words “Stamford, CT”, and what’s very likely the logo of a company called “Software Security Inc”. The only evidence for the existence of this company is this record of them exhibiting their wares at SIGGRAPH conferences in the early 1990s, as well as several patents issued to them, relating to software protection.
- A word that seems to say “RUNTIME”, which will become clear in a bit.
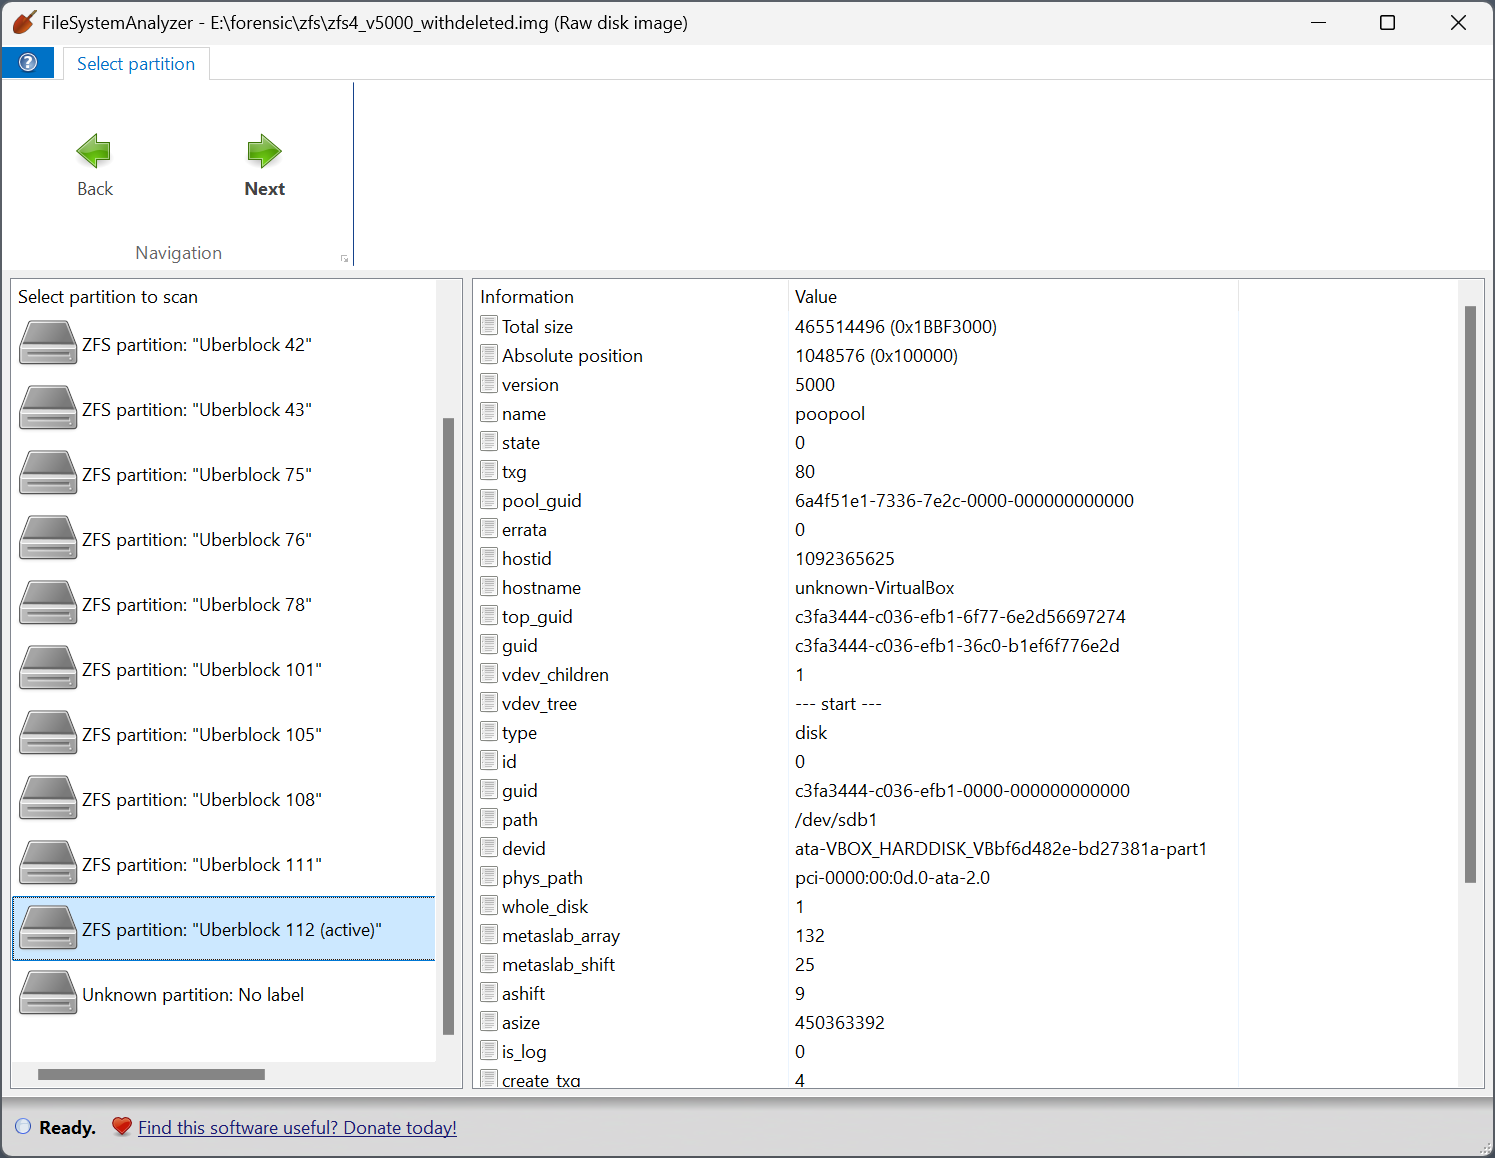
My first course of action was to take a disk image of the Windows 98 PC that was running this software, and get it running in an emulator, so that we could see what the software actually does, and perhaps export the data from this software into a more modern format, to be used with modern accounting tools. But of course all of this requires the hardware dongle; none of the accounting tools seem to work without it plugged in.
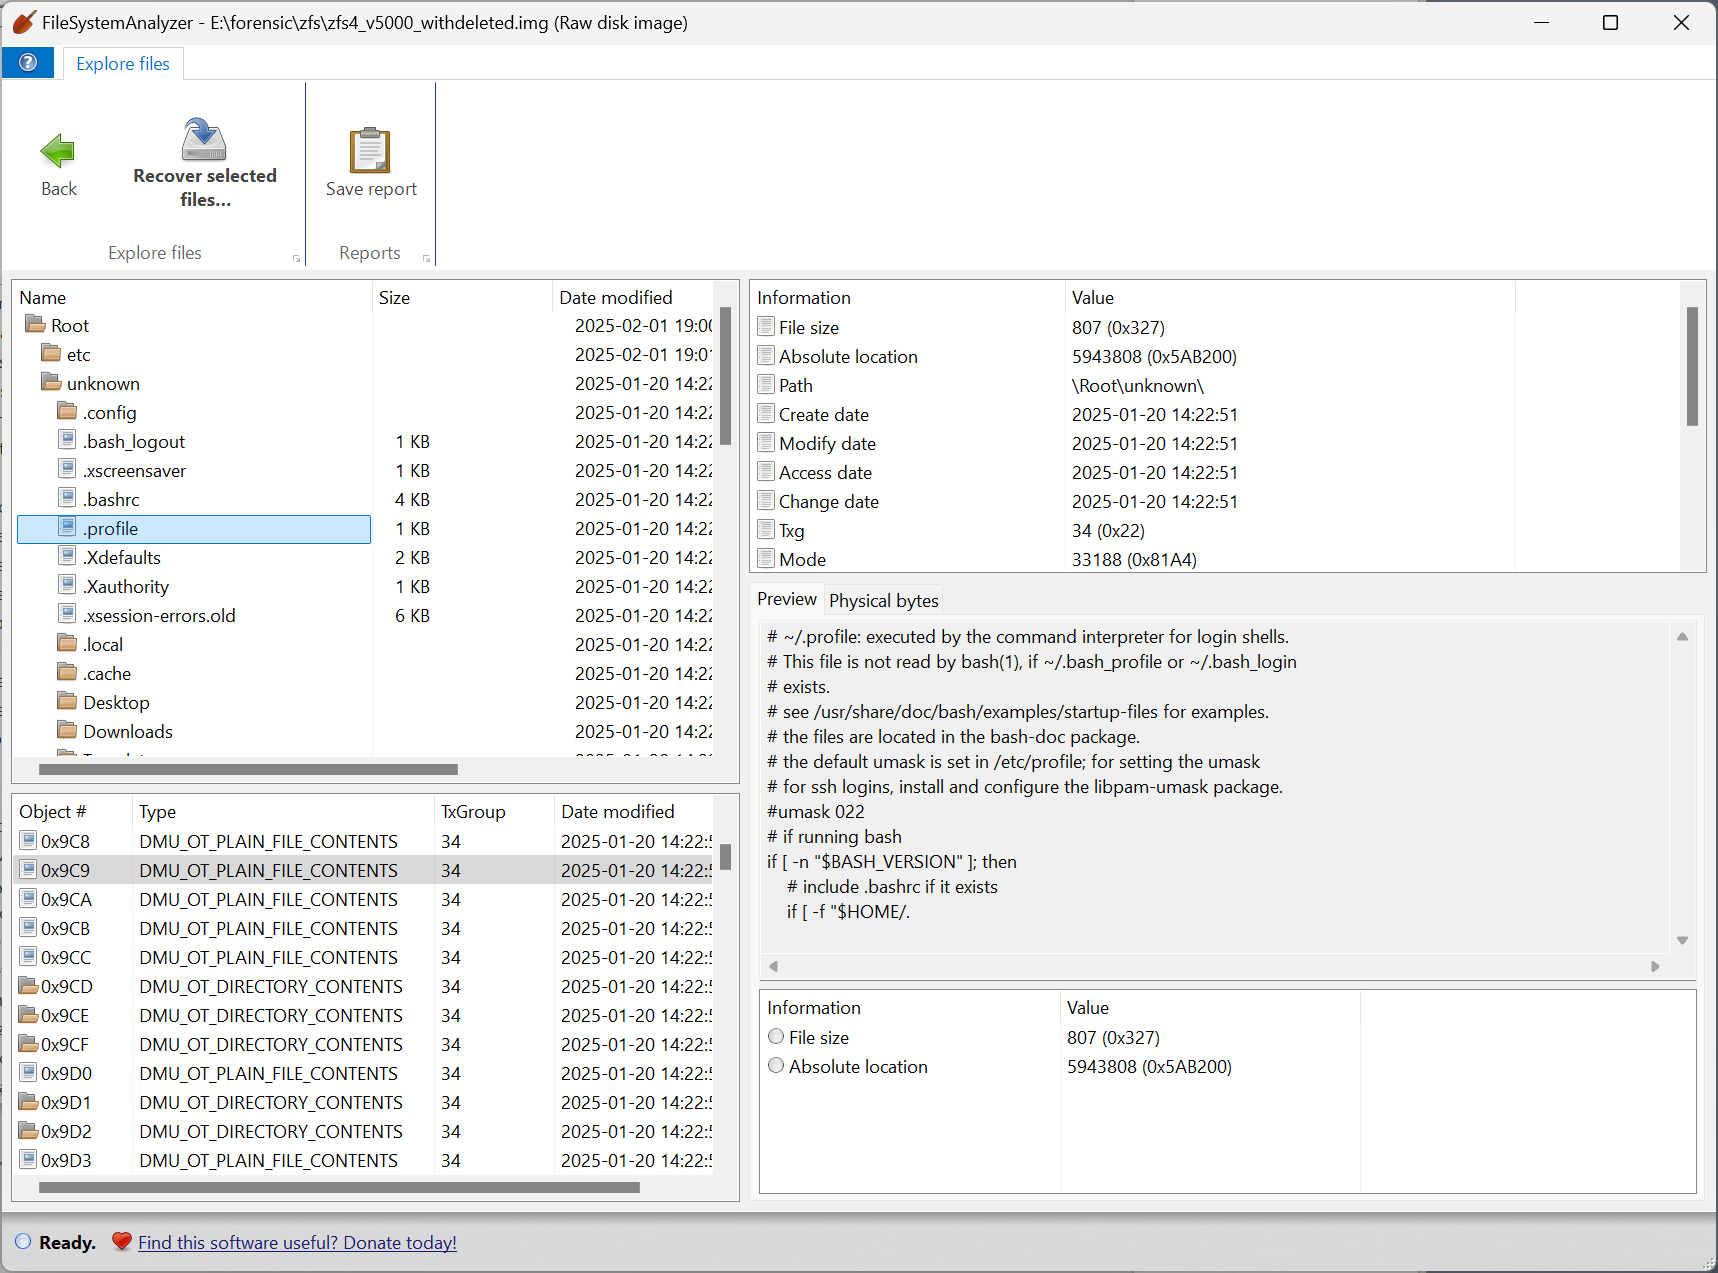
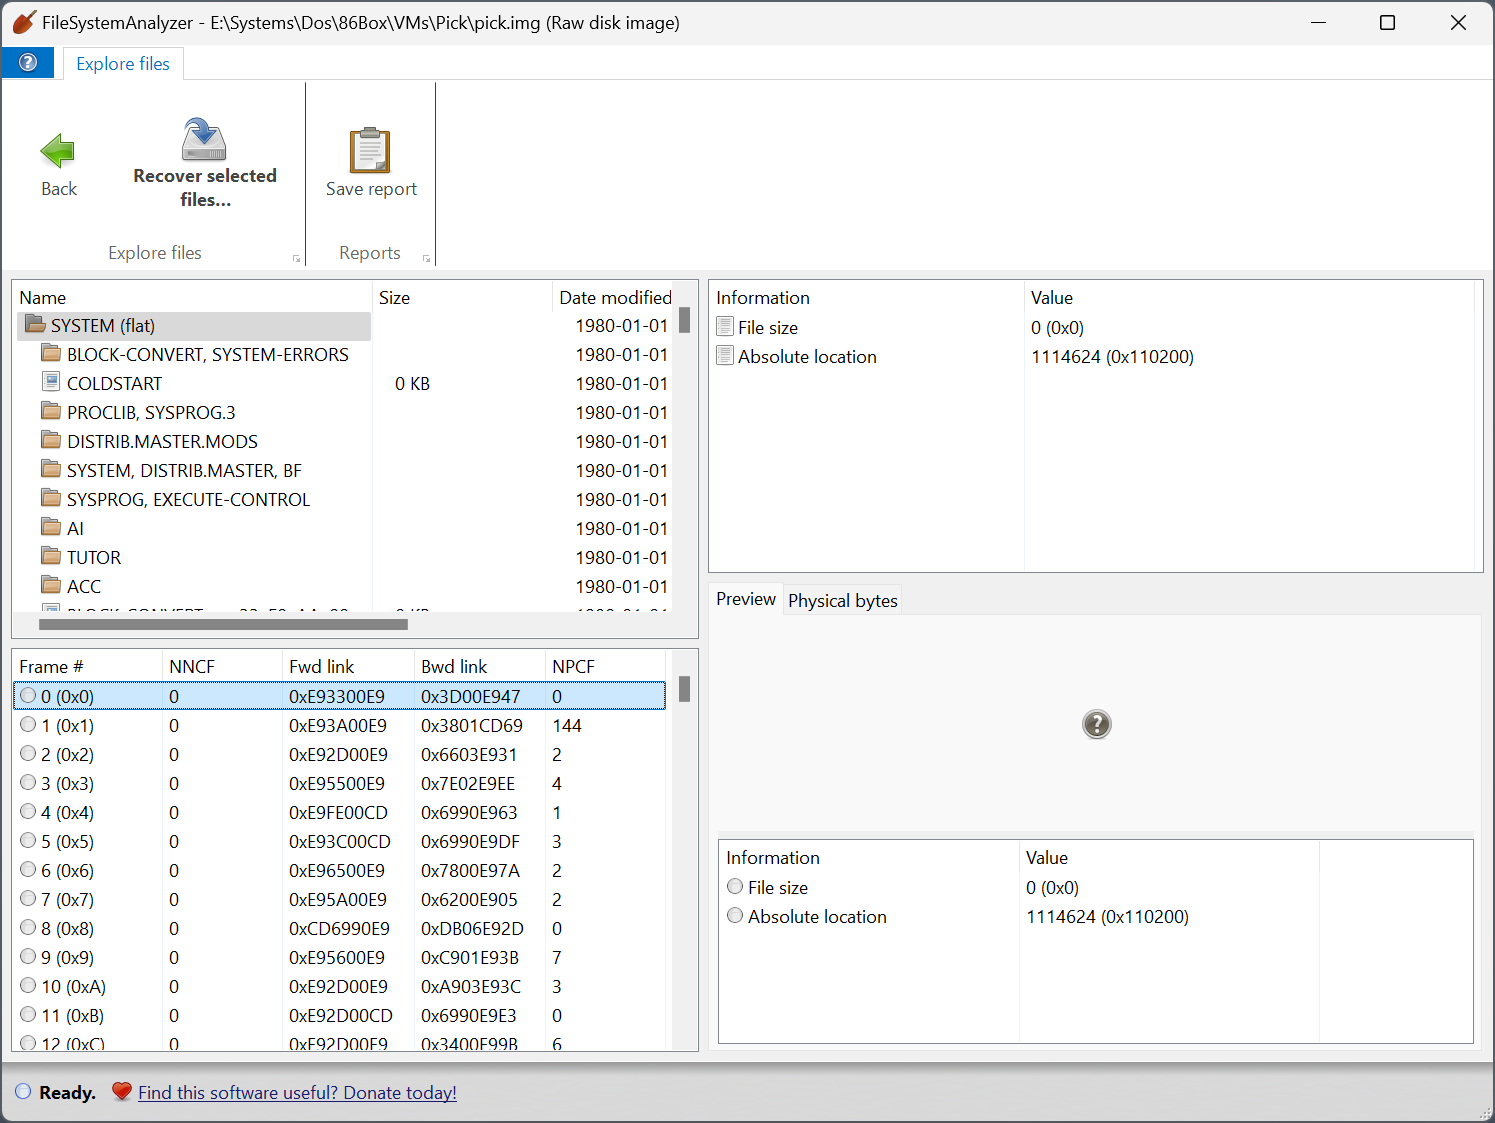
Before doing anything, I looked through the disk image for any additional interesting clues, and found plenty of fascinating (and archaeologically significant?) stuff:
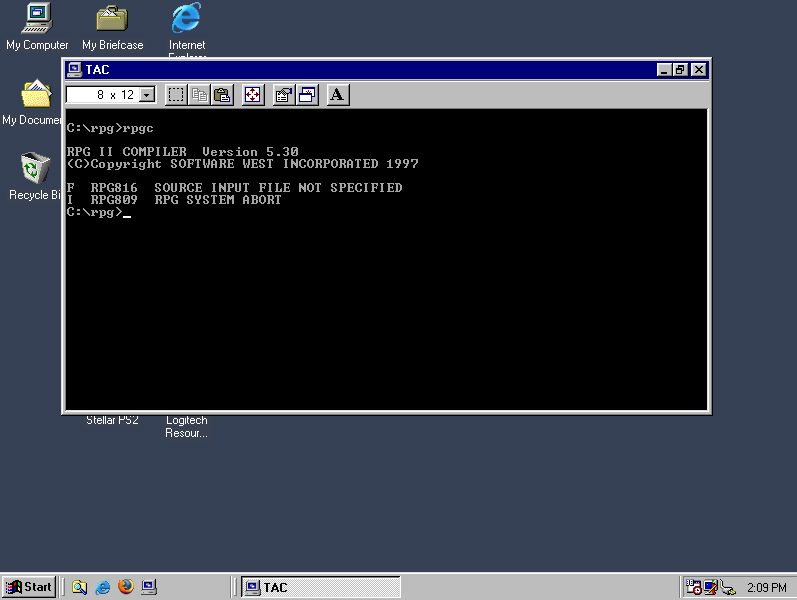
- We’ve got a compiler for the RPG II language (excellent!), made by a company called Software West Inc.
- Even better, there are two versions of the RPG II compiler, released on various dates in the 1990s by Software West.
- We’ve got the complete source code of the accounting software, written in RPG. It looks like the full accounting package consists of numerous RPG modules, with a gnarly combination of DOS batch files for orchestrating them, all set up as a “menu” system for the user to navigate using number combinations. Clearly the author of this accounting system was originally an IBM mainframe programmer, and insisted on bringing those skills over to DOS, with mixed results.
I began by playing around with the RPG compiler in isolation, and I learned very quickly that it’s the RPG compiler itself that requires the hardware dongle, and then the compiler automatically injects the same copy-protection logic into any executables it generates. This explains the text that seems to say “RUNTIME” on the dongle.
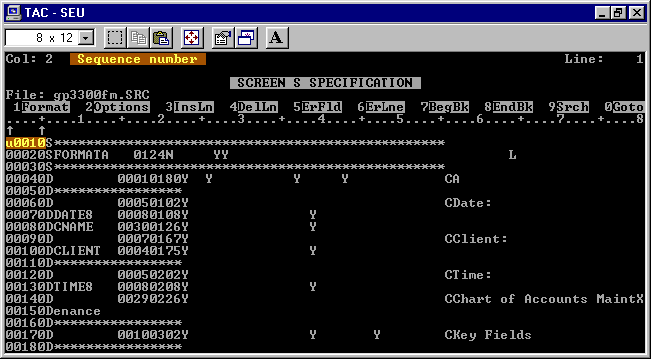
The compiler consists of a few executable files, notably RPGC.EXE, which is the compiler, and SEU.EXE, which is a source editor (“Source Entry Utility”). Here’s what we get when we launch SEU without the dongle, after a couple of seconds:
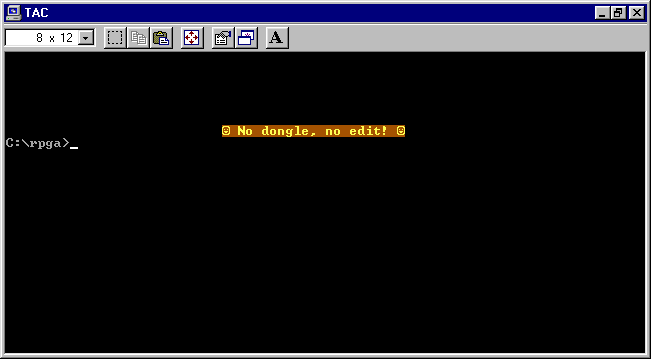
A bit rude, but this gives us an important clue: this program must be trying to communicate over the parallel port over the course of a few seconds (which could give us an opportunity to pause it for debugging, and see what it’s doing during that time), and then exits with a message (which we can now find in a disassembly of the program, and trace how it gets there).
A great tool for disassembling executables of this vintage is Reko. It understands 16-bit real mode executables, and even attempts to decompile them into readable C code that corresponds to the disassembly.
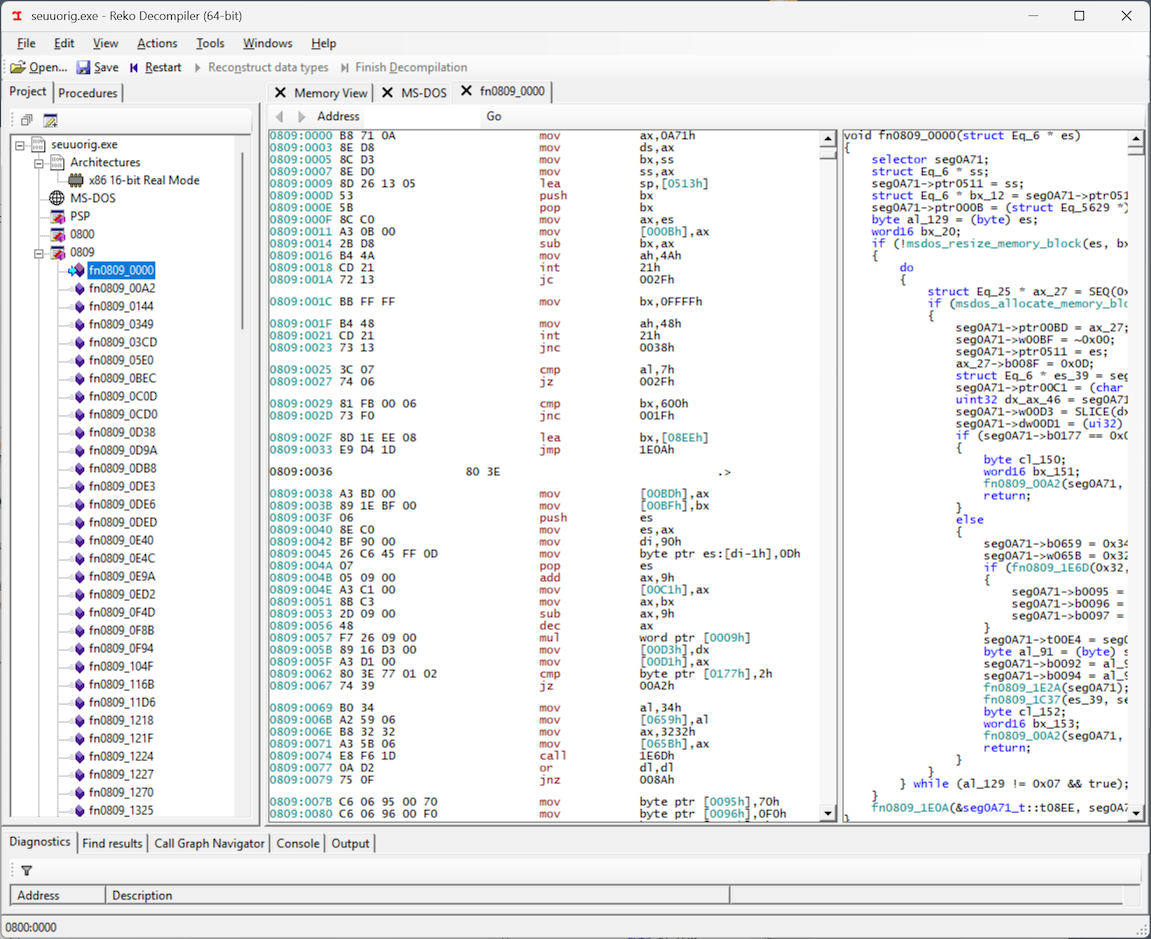
And so, looking at the decompiled/disassembled code in Reko, I expected to find in and out instructions, which would be the telltale sign of the program trying to communicate with the parallel port through the PC’s I/O ports. However… I didn’t see an in or out instruction anywhere! But then I noticed something: Reko disassembled the executable into two “segments”: 0800 and 0809, and I was only looking at segment 0809.
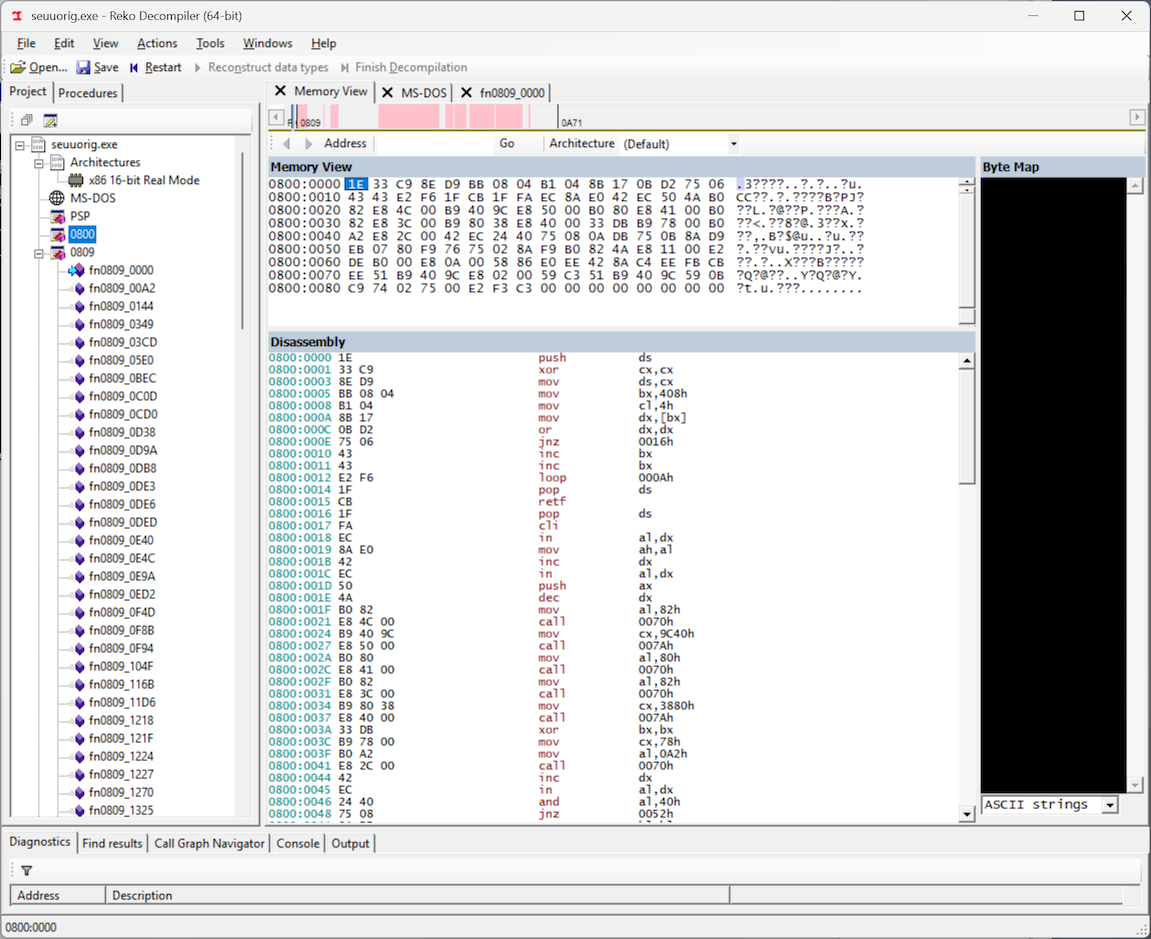
If we look at segment 0800, we see the smoking gun: in and out instructions, meaning that the copy-protection routine is definitely here, and best of all, the entire code segment is a mere 0x90 bytes, which suggests that the entire routine should be pretty easy to unravel and understand. For some reason, Reko was not able to decompile this code into a C representation, but it still produced a disassembly, which will work just fine for our purposes. Maybe this was a primitive form of obfuscation from those early days, which is now confusing Reko and preventing it from associating this chunk of code with the rest of the program… who knows.
Here is a GitHub Gist with the disassembly of this code, along with my annotations and notes. My x86 assembly knowledge is a little rusty, but here is the gist of what this code does:
- It’s definitely a single self-contained routine, intended to be called using a “far”
CALLinstruction, since it returns with aRETFinstruction. - It begins by detecting the address of the parallel port, by reading the BIOS data area. If the computer has more than one parallel port, the dongle must be connected to the first parallel port (LPT1).
- It performs a loop where it writes values to the data register of the parallel port, and then reads the status register, and accumulates responses in the
BHandBLregisters. - At the end of the routine, the “result” of the whole procedure is stored in the
BXregister (BHandBLtogether), which will presumably be “verified” by the caller of the routine. - Very importantly, there doesn’t seem to be any “input” into this routine. It doesn’t pop anything from the stack, nor does it care about any register values passed into it. Which can only mean that the result of this routine is completely constant! No matter what complicated back-and-forth it does with the dongle, the result of this routine should always be the same.
With the knowledge that this routine must exit with some magic value stored in BX, we can now patch the first few bytes of the routine to do just that! Not yet knowing which value to put in BX, let’s start with 1234:
BB 34 12       MOV BX, 1234h
CB             RETF
Only the first four bytes need patching — set BX to our desired value, and get out of there (RETF). Running the patched executable with these new bytes still fails (expectedly) with the same message of “No dongle, no edit”, but it fails immediately, instead of after several seconds of talking to the parallel port. Progress!
Stepping through the disassembly more closely, we get another major clue: The only value that BH can be at the end of the routine is 76h (this is hard-coded into the routine). So, our total value for the magic number in BX must be of the form 76xx. In other words, only the BL value remains unknown:
BB __ 76       MOV BX, 76__h
CB             RETF
Since BL is an 8-bit register, it can only have 256 possible values. And what do we do when we have 256 combinations to try? Brute force it! I whipped up a script that plugs a value into that particular byte (from 0 to 255) and programmatically launches the executable in DosBox, and observes the output. Lo and behold, it worked! The brute forcing didn’t take long at all, because the correct number turned out to be… 6. Meaning that the total magic number in BX should be 7606h:
BB 06 76       MOV BX, 7606h
CB             RETF
Bingo!
And then, proceeding to examine the other executable files in the compiler suite, the parallel port routine turns out to be exactly the same. All of the executables have the exact same copy protection logic, as if it was rubber-stamped onto them. In fact, when the compiler (RPGC.EXE) compiles some RPG source code, it seems to copy the parallel port routine from itself into the compiled program. That’s right: the patched version of the compiler will produce executables with the same patched copy protection routine! Very convenient.
I must say, this copy protection mechanism seems a bit… simplistic? A hardware dongle that just passes back a constant number? Defeatable with a four-byte patch? Is this really worthy of a patent? But who am I to pass judgment. It’s possible that I haven’t fully understood the logic, and the copy protection will somehow re-surface in another way. It’s also possible that the creators of the RPG compiler (Software West, Inc) didn’t take proper advantage of the hardware dongle, and used it in a way that is so easily bypassed.
In any case, Software West’s RPG II compiler is now free from the constraint of the parallel port dongle! And at some point soon, I’ll work on purging any PII from the compiler directories, and make this compiler available as an artifact of computing history. It doesn’t seem to be available anywhere else on the web. If anyone reading this was associated with Software West Inc, feel free to get in touch — I have many questions!