Custom IDE adapter for CP-4021 drive
As part of a special data recovery project, I needed to read the contents of the hard drive from an ancient Compaq LTE 8086 laptop. This hard disk, which is a Conner CP-4021, is quite an oddball. It has an unusual form factor: it’s a 3.5″ drive, but it’s slimmer and shorter than a regular drive, as if it was specifically made to fit into the LTE laptop.
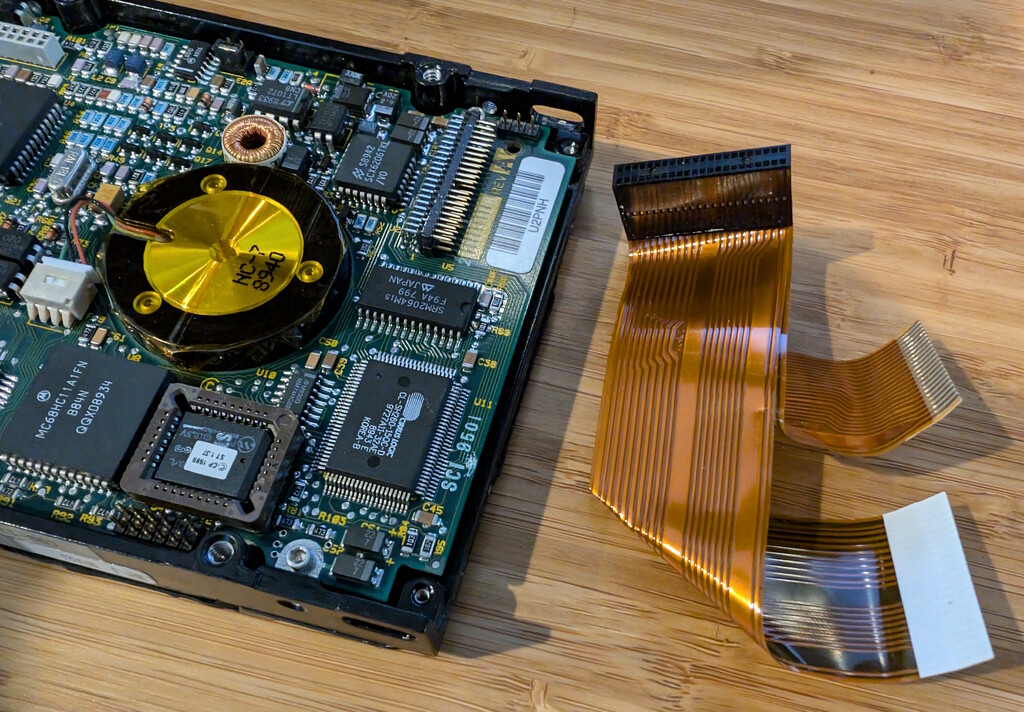
Perhaps most annoyingly, the IDE connector on the drive is a very nonstandard half-pitch connector, where the pins have a horizontal pitch of 1.27mm, and a vertical pitch of 2.54mm. Inside the LTE laptop, this connects to a twin ribbon cable that goes directly to the motherboard, which basically means I have no way of connecting this drive to a “standard” modern IDE controller. (And it’s definitely an IDE drive, since the connector has 44 pins, just like any other laptop hard drive, and it has the same missing “key” pin as a standard IDE connector.)
Time to build a custom connector! After a whole lot of searching, I found a blank 50-pin header on AliExpress that should match the pitch of the drive’s connector. The 50-pin header will overshoot the 44-pin connector by a few pins, but it should still fit without issues. In an ultimate test of my fine motor skills, I soldered a spare 44-pin ribbon cable onto this 50-pin header, checking painstakingly that each pin on the female end matches the corresponding pin on the male end. To secure the delicate soldering onto the header, I covered it with clear epoxy, and let it harden overnight. And just like that, I have an adapter for connecting this ancient drive to a modern PC:

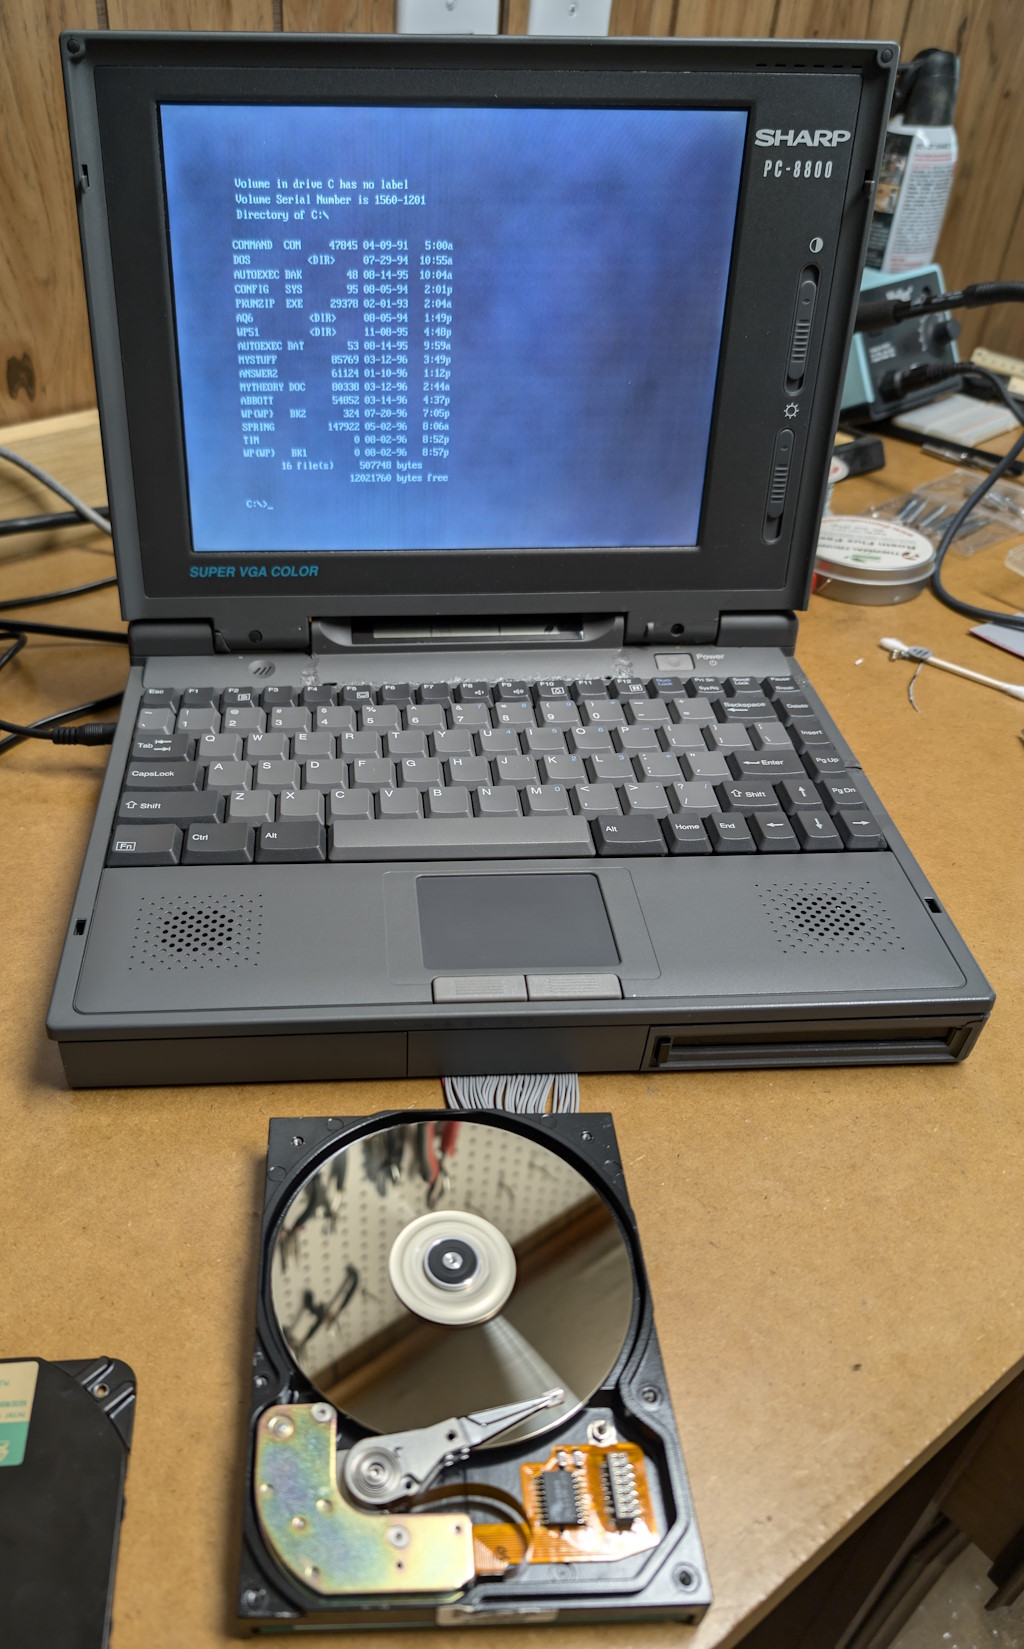
I then connected the drive to my workstation PC, and was encouraged when the drive spun up, and the PC detected the drive successfully! However, the PC didn’t seem to be able to read any actual data from the drive. After a good bit of head-scratching, and double-checking the continuity of all the pins of my adapter, and trying to connect the drive to a few other PCs, I had a last-ditch idea to rule out stuck heads or a locked spindle, which were rather common problems with older drives. I removed the top cover of the drive, exposing the heads and platter, and as the drive was spinning up, I gently turned the spindle manually away from its resting position. And wouldn’t you know it — this caused the spindle to come alive, and the drive became fully functional!
I was able to acquire an image of the drive in Linux with minimal effort (not a single bad sector!), and I’ll be keeping my fancy custom adapter in case I come across another drive like this in the future. I did a few more random Frankenstein experiments with the drive, including booting another vintage laptop from it:
…and connecting that laptop to another laptop via INTERLNK.EXE, which allows the C: drive on the “server” laptop to map as the D: drive on the “client” laptop, with the goal of transferring files from one to the other, or even dumping the entire partition, which I did with the SAVEPART tool.
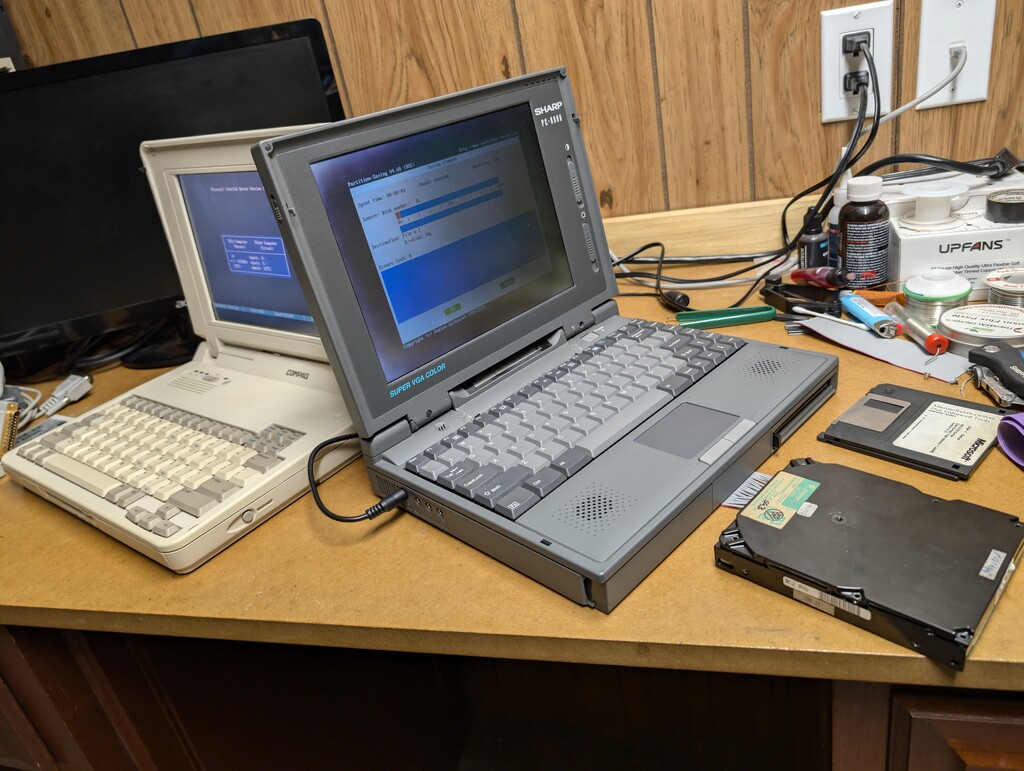
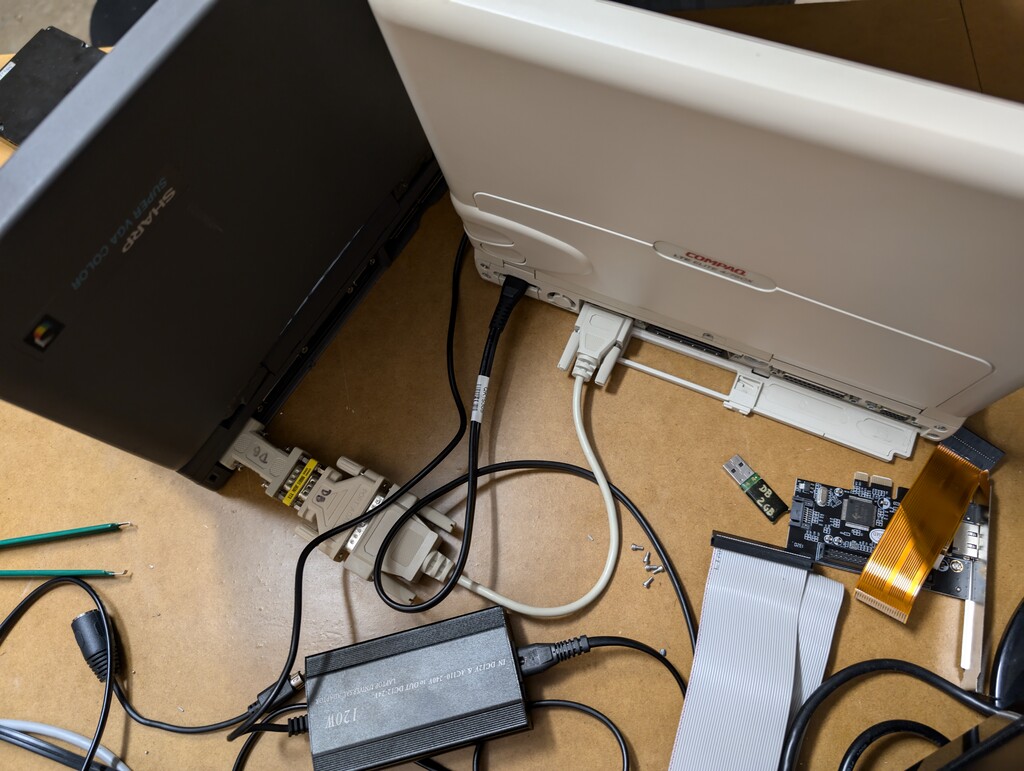
The connection between the two laptops is a serial cable that I cobbled together from whatever I had on hand, which turned out to be an annoyingly short cable and, thankfully, a null-modem adapter, necessary for communication between the two serial ports. This resulted in a rather slow connection between the laptops; a parallel connection would be significantly faster, but I don’t have the appropriate cable. The INTERLNK tool (bundled with MS-DOS) worked just fine, and automatically detected the connection over the COM port.
T48 chip programmer, finally
I splurged on a proper chip programmer, the T48 by XGecu. Even though there is already a newer model of their programmer (the T56), the extra cost didn’t justify the few additional chips and features it supports, at least for me.
Along with the T48, I purchased a batch of random EEPROM chips for some initial testing and verifying of the T48 itself, and possibly for actual use in future projects. These are Winbond W27C512 chips, which have a rather unusual erase voltage of 14V and programming voltage of 12V, which will be a good exercise for the chip programmer.
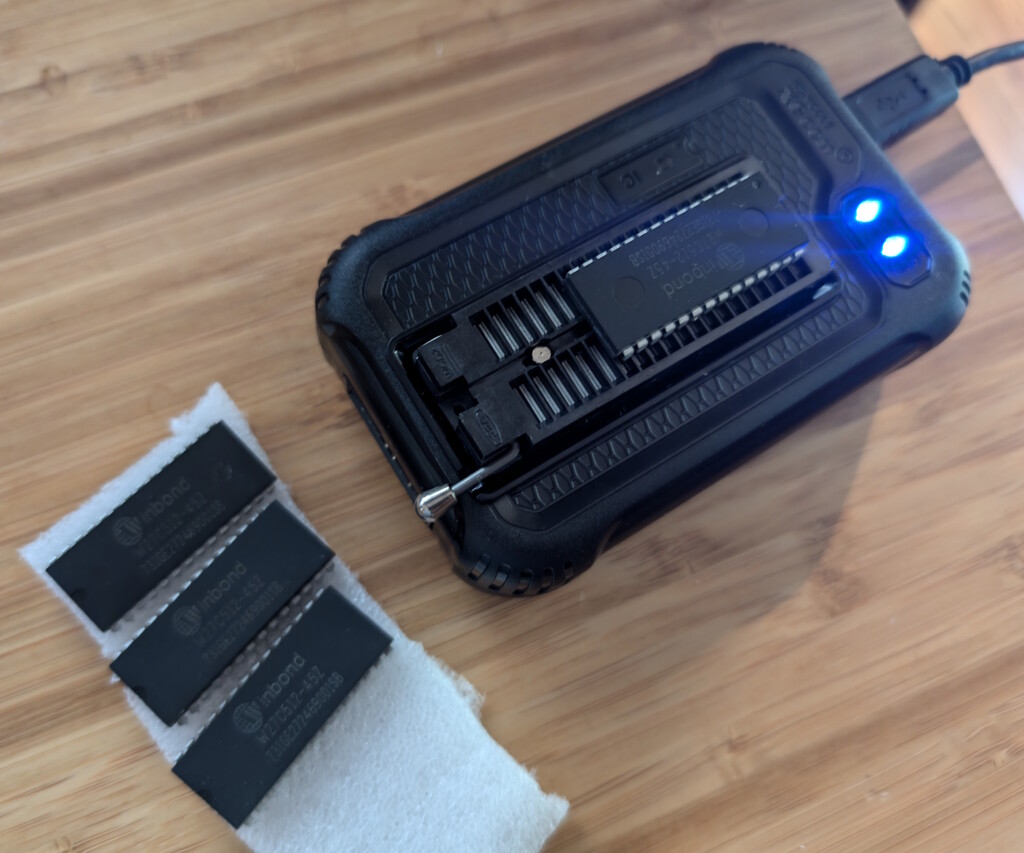
The software for the T48 is for Windows only (there is an open-source alternative that supports an earlier model of this programmer (the TL866II), but it still has very limited support for the T48). And because the software is for Windows only, and especially because it requires a special driver which can only be installed with elevated privileges, I prefer to run it in a virtual machine, for reasons that I hope are obvious. Fortunately this is done very easily in VirtualBox, which supports USB passthrough effortlessly. Here it is, running in a Windows 7 (32-bit) VM, and communicating with the T48:
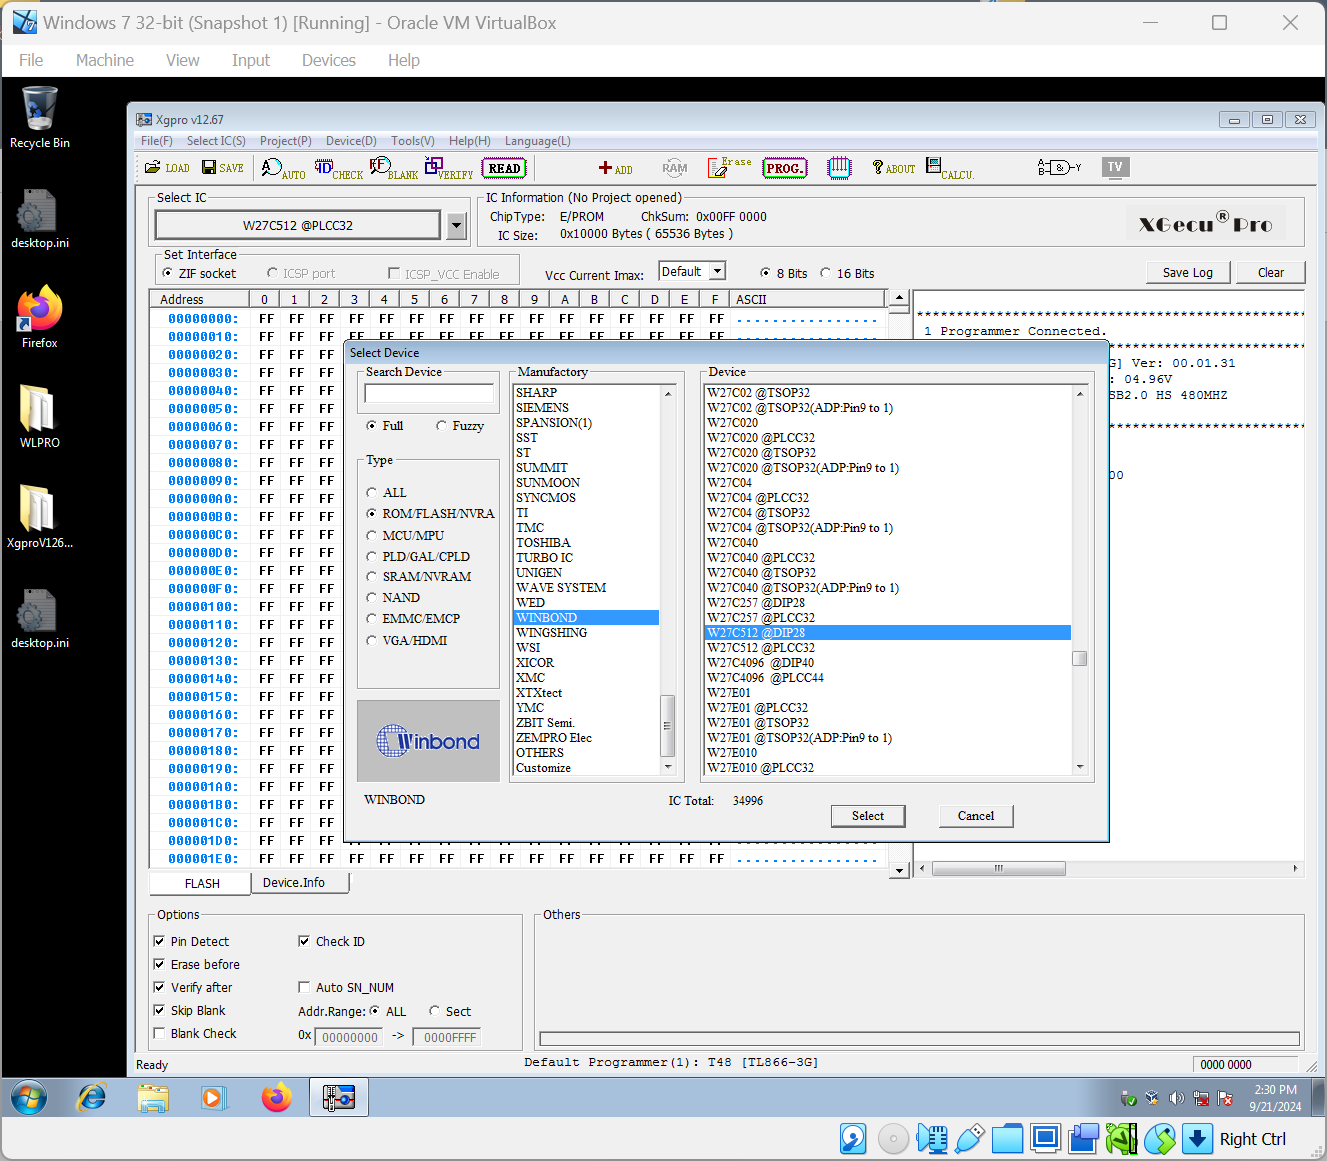
Since my batch of Winbond chips was suspiciously cheap, I assumed they were not “new”, but rather pulled from existing boards. And I was not mistaken: reading the chips, which worked absolutely fine, revealed that they already had contents in them:
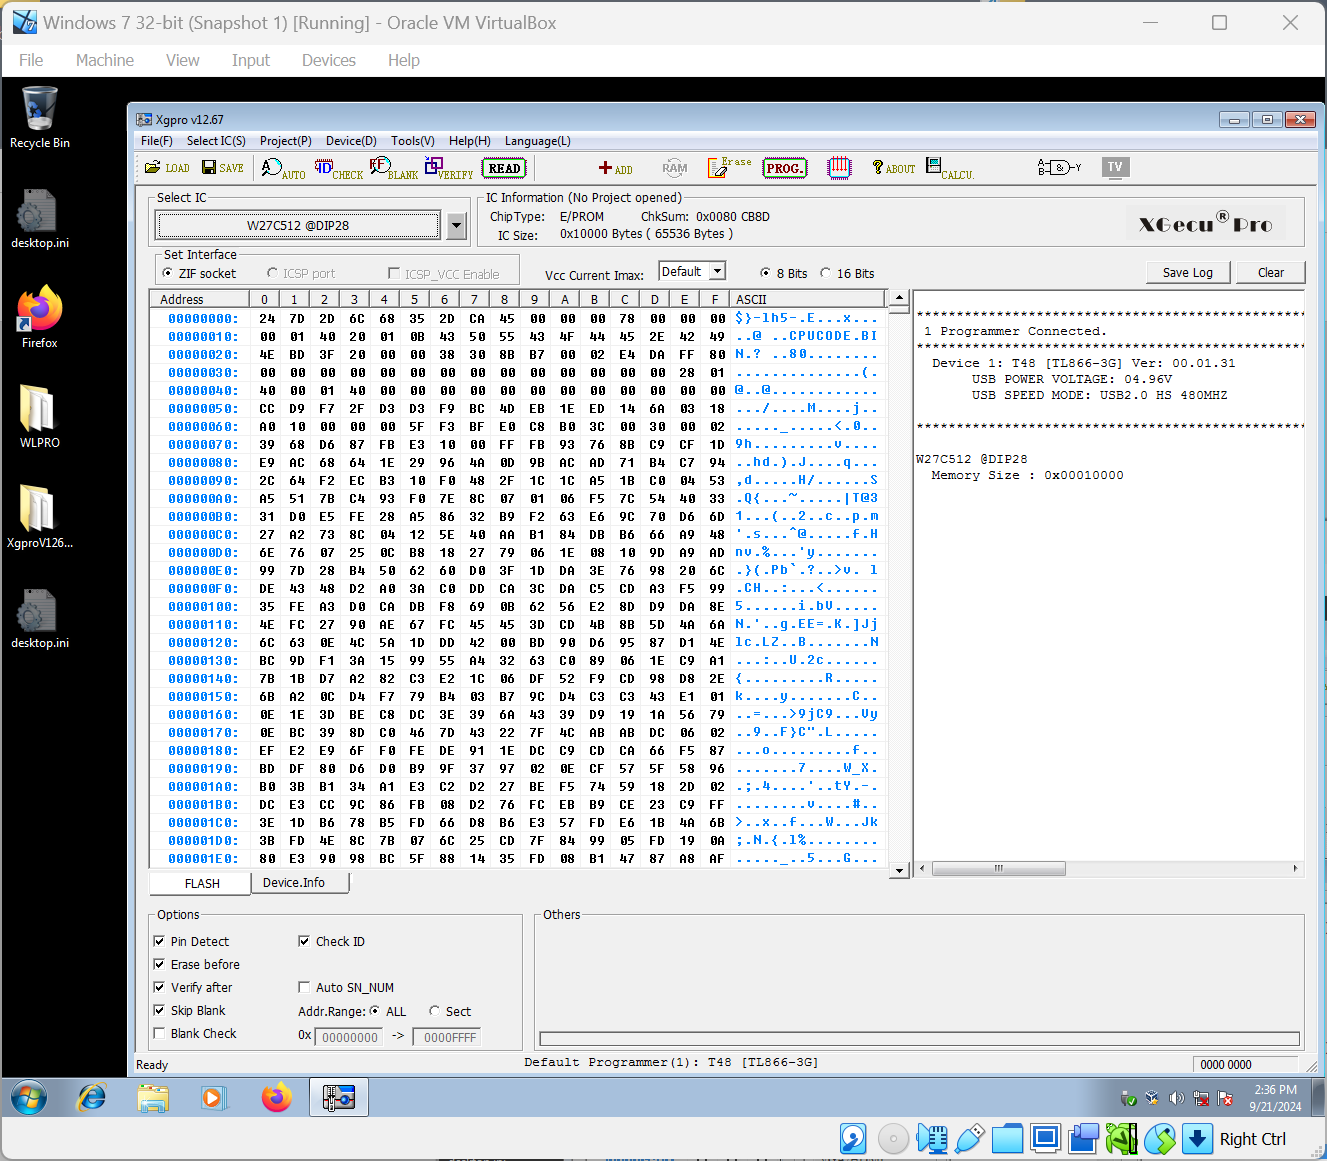
And then, erasing and reprogramming the chips also turned out to be a breeze, which gives the T48 programmer a thumbs-up from me. As a special bonus, I removed the firmware chip from the Conner CP-4021 drive (mentioned above!) and was able to read the firmware, using one of the myriad adapters that were included with the T48 programmer.
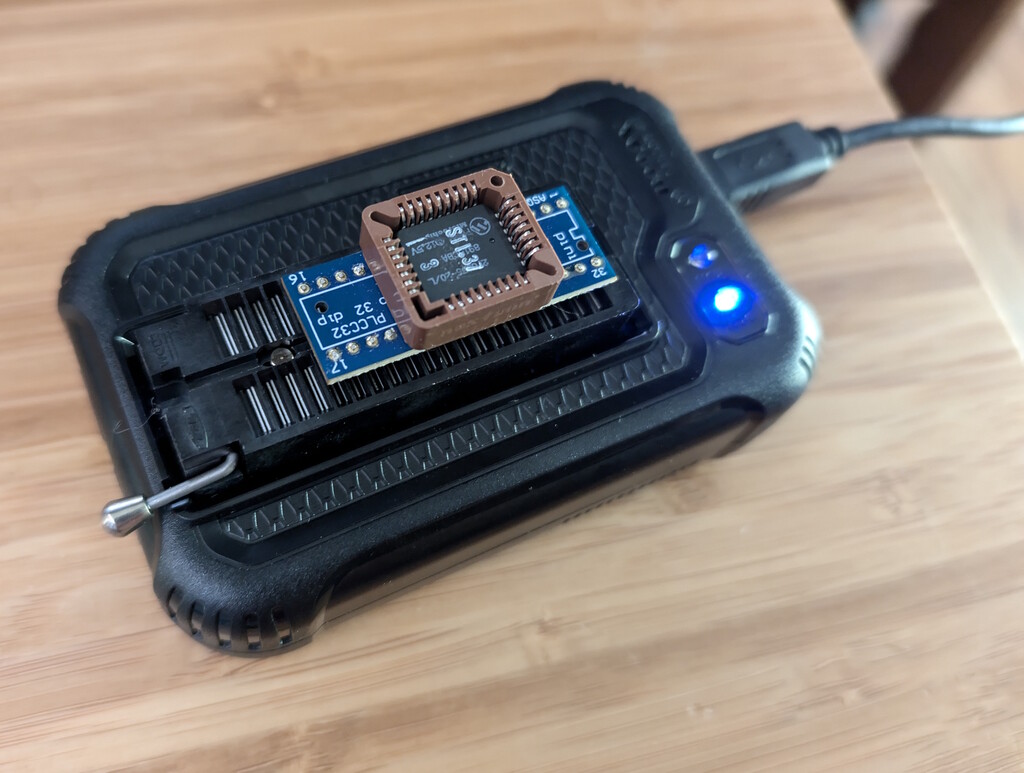
The above chip is a Microchip 27C256 (32KB), in a PLCC-32 socket. Again, the T48 was able to read this 35-year-old chip without any issues, which makes me look forward to reading and programming many vintage and newer chips in the future.