A while ago a came across an old Compaq LTE 286 laptop. When they were first released around 1989, these PCs were somewhat groundbreaking because they were the first to be compact enough to resemble the “notebook” form factor that we take for granted today. Unfortunately this particular unit was pretty much beyond repair, and my attempts to restore it to a functional state were fruitless.
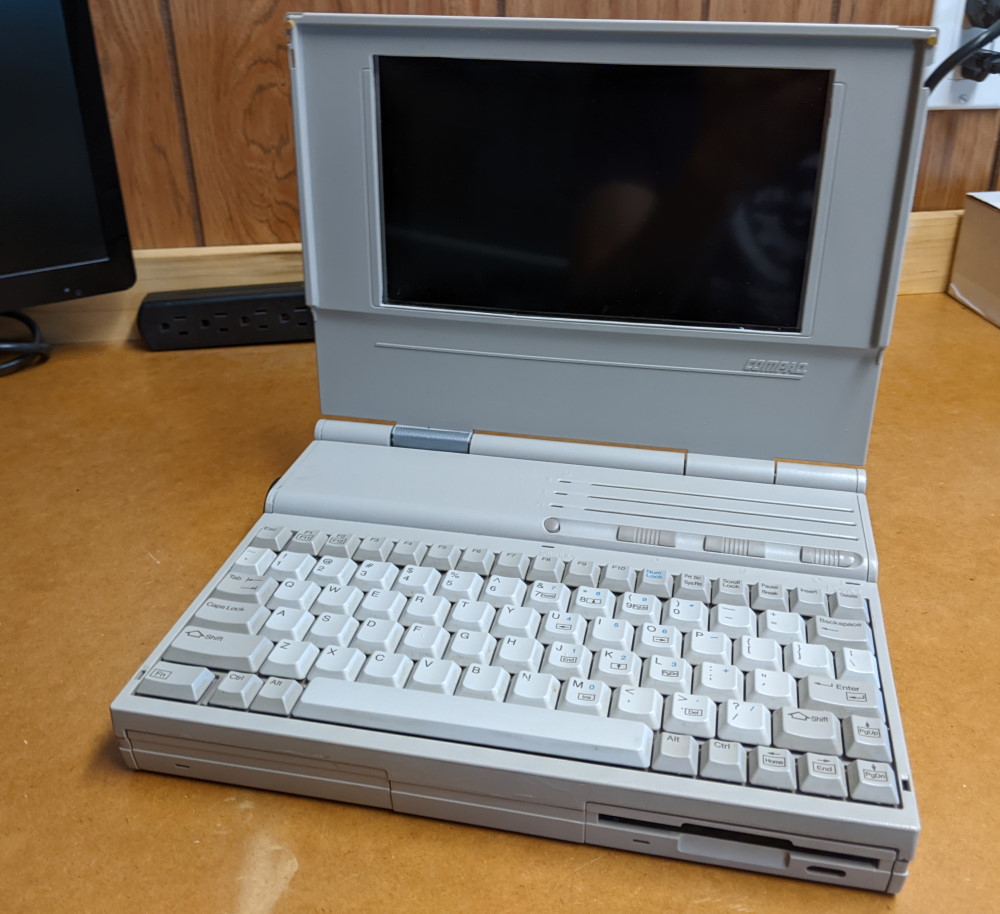
However, I realized that I could do the next best thing: remove the guts of the laptop and replace it with a Raspberry Pi! Who needs a “modern” Raspberry Pi-powered computer, when we can put one in a 30-year-old case? That’s right, if we look inside, that’s no ordinary Compaq LTE:
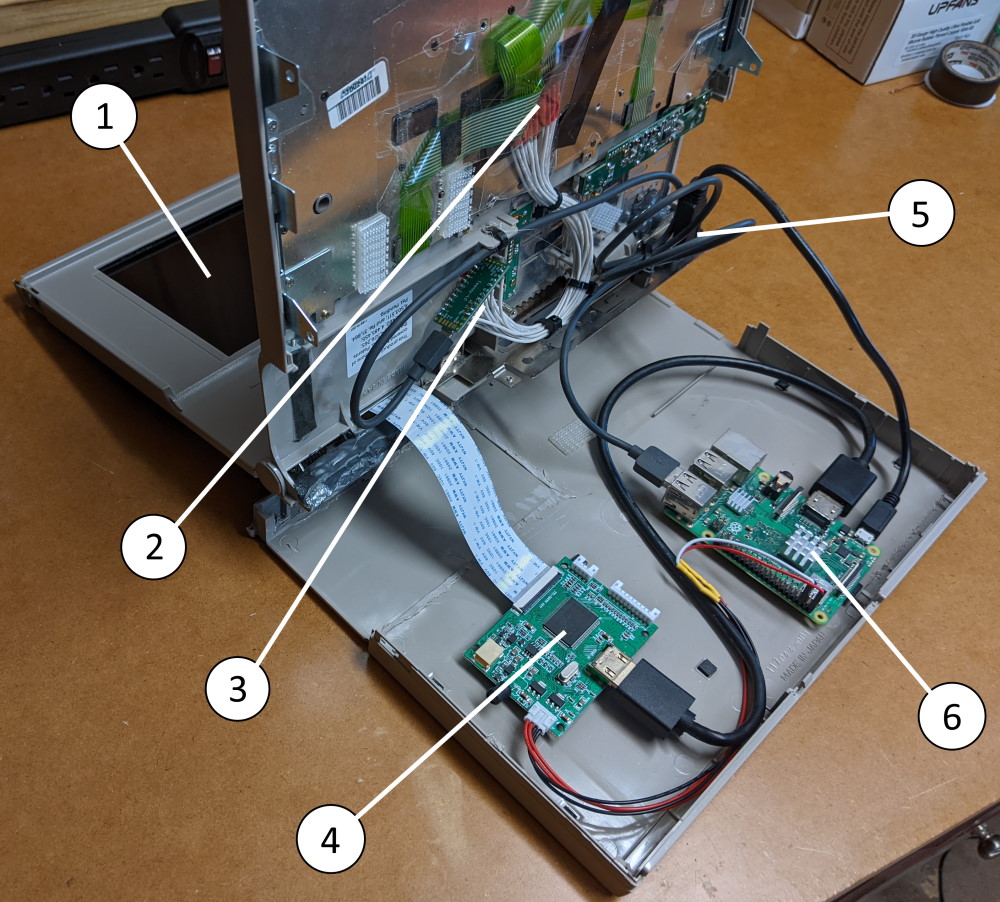
Let’s walk through all the components we see in the above image:
- The original display of the Compaq LTE was 9 inches in size diagonally, and had an unusual aspect ratio of 2:1. The closest modern replacement I could find is a 9-inch TFT display, ordered from AliExpress for $30, which has an aspect ratio of 16:9. This means I had to cut away some of the plastic to accommodate the extra vertical real estate of the new screen, but I don’t think this impacts the aesthetic too much.
- My main goal was to use the original keyboard from the old laptop with the new Raspberry Pi internals. But the original keyboard simply has a proprietary FPC ribbon cable (flexible printed circuit) that goes directly to the old motherboard. How can we possibly use this with a modern setup? Never fear: there’s a clever solution devised by Frank Adams that uses a microcontroller with a bunch of GPIO pins to translate any arbitrary ribbon-cable keyboard into a USB keyboard! The bundle of wires that you see here is an adapter I fashioned that breaks out the ribbon cable into wires that can be soldered onto the microcontroller.
- This is a Teensy LC microcontroller ($12) that takes the raw keyboard switch inputs and translates them into a USB keyboard device, usable by any modern computer. The microcontroller simply listens for high/low state changes on a predetermined matrix of GPIO inputs that corresponds to character codes on the original Compaq LTE keyboard. Not my finest soldering job, but it works perfectly well.
- HDMI driver board that came with the TFT display. This is using a 50-pin extension cable that is long enough to go all the way up to the display itself. The driver board is not thin enough to fit in the plastic enclosure of the display. The board is drawing power from the 5V pin on the Raspberry Pi.
- Panel-mount USB extension cable for powering the Raspberry Pi. It’s mounted in the location where the old serial port used to be.
- The Raspberry Pi (model 3B) itself, secured to the bottom of the plastic case using Velcro™. The microSD card is actually accessible (using tweezers!) through the floppy drive cover of the original case.
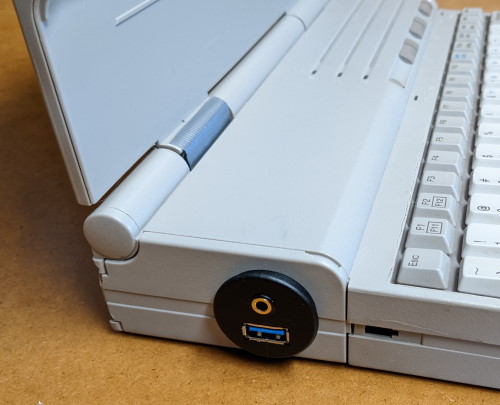
I also just added one other thing: a panel-mounted USB and audio port combo, which pass right through to the Raspberry Pi:
The whole thing works amazingly well as a retro gaming laptop! My happy place is playing old DOS games using the venerable DOSBox emulator, but the state of retro emulation for Raspberry Pi is much broader than that, and this beauty can handle all of it.
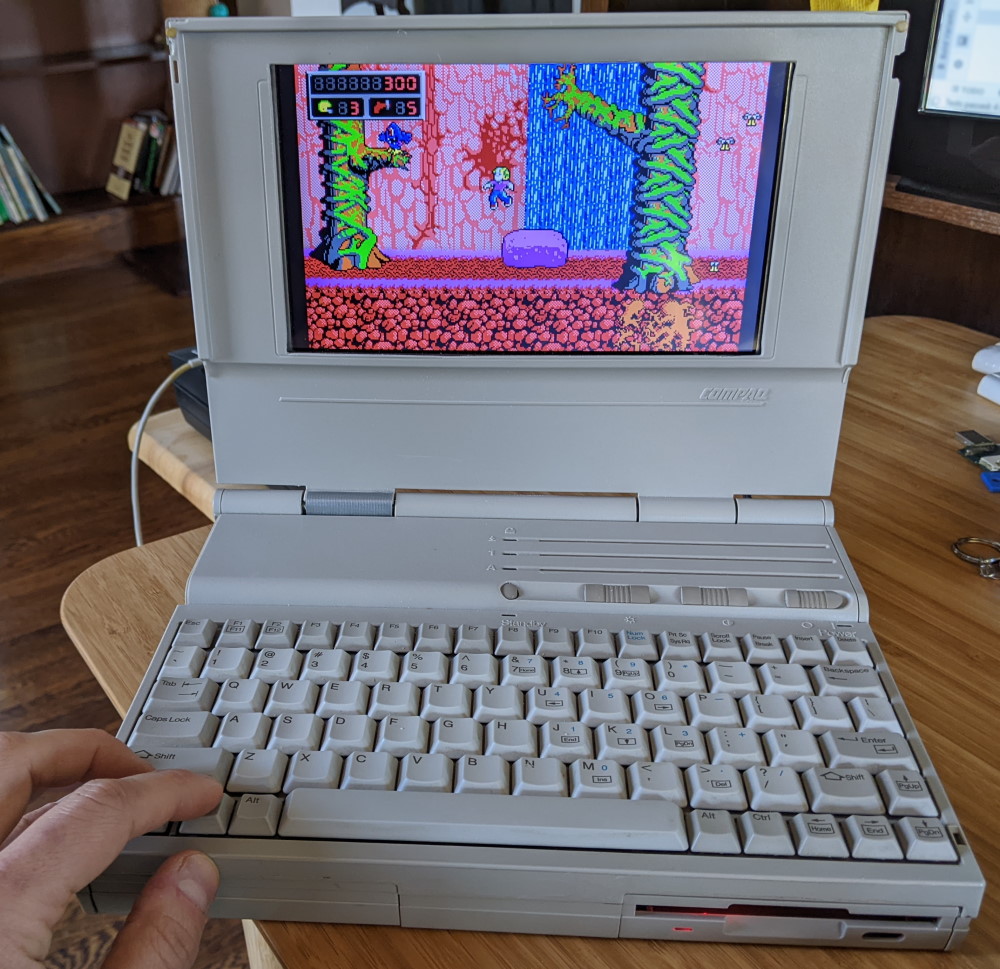
And of course it also works as a general-purpose Linux PC, with WiFi, Bluetooth, and everything else you’d expect:

Someday, if I’m feeling particularly masochistic, I’ll see if I can let this be my daily driver for a while! But for now, just a few more minutes of Commander Keen: Goodbye Galaxy!